How to Lay Tile
A Detailed Guide to Tile Floor Installation
So, you’re ready to learn how to install tile? Great! After reading this article, you should have a good grasp of what tools and supplies you’ll need and a basic understanding of the tile installation process from planning to grouting.
This is not an exhaustive tutorial, but rather an overview of the process. As we can’t cover the full range of products and materials with all their unique specifications, we will occasionally guide you to check the manufacturer’s recommendations. Visit your local Tile Shop to speak to one of our helpful Tile Experts, for any questions you may have.

Table of Contents
Tools & Materials
Below is a list of the basic items you will need to install your tile. For a comprehensive list of the tools and materials required for each step in the installation process, refer to our handy checklist.
- Materials
- Tile
- Underlayment: backer board, membrane, waterproof underlaments, self-leveling, mudset, etc.
- Adhesives: epoxy, thinset, mastic, etc.
- Grout: epoxy, sanded, unsanded, etc.
- Sealer: stone sealer, natural sealer or grout sealer
- Tools
- Trowel
- Float (for grouting)
- Cutting tool: wet saw or scoring snap cutter
- Spagers: wedges, T spacer or leveling spacers (depending on your space)
- Buckets
- Sponges
- Tape
- Utility knife
Not sure which tools are best for your project? Our Tile Experts are available to answer your questions. Visit your local Tile Shop for guidance, resources and supplies.
Before You Begin

It’s important to have the right surface prepared before you start to tile. Determine your existing subfloor and adjoining floor height, and whether you want to include in-floor heating. This will help you decide which underlayment will work best for your project.
You’ll want to ensure you are working on a clean, dry surface. Thoroughly sweep and vacuum your space before you install your underlayment.
Planning Your Layout

Planning Your Layout
As the saying goes, measure twice, and cut once. Putting in the time to plan your layout before you begin will always be worth it in the long run and will make your installation look even better.
Once you have all the tools and materials you need, the next step is to start planning the layout of your design. This is an important step because once you start installing tile, it’s hard to go back and rethink the layout.
First, find the center of the room. The easiest way to do this is to measure the length of one wall and divide that number in half. Next, measure the opposite wall and divide that number in half. Then, draw a line on the floor connecting the two center points. Repeat this process with the other two walls. You should now have two lines that intersect at the center point of the room.
To plan your layout, you’ll first place tiles on the ground without adhesive. Start from the center point and lay a row of tiles (including spacers) in one direction. You don’t want to end with a sliver cut (less than half of a tile) at the end of the row. Shift your starting point if your row ends with less than half a tile.
Next, lay another row of tiles at a 90° angle from the first, and adjust your layout if you encounter a sliver cut. Be sure to account for any design features you are incorporating in your layout, such as diagonal tile, unique pattern or tiled border.
Once you have decided on the tile layout, plan the order in which you will tile each section of the room. Make sure to finish in front of a door so you can easily exit without stepping on the tiles. If you are tiling walls and floors, we recommend starting with floors so that your wall tile will overlap and sit on top of the floor tile. This ensures that water will run onto the floor tile instead of into the grout joint or under the tile.
Installation

Installation
It’s time for the exciting part! Read on to learn about all the essential steps of installation and hear our expert tips to make it all go smoother.
You’ve picked out your wall or floor tile, planned your layout and gathered the necessary tools and materials. Now you’re ready to start the installation process!
Before you begin, we recommend reviewing all the following steps so you can plan for each step in the process. We’ll cover mixing and laying thinset, laying tile, and finishing touches, like grouting, sealing and caulking. Our Tile Experts are available to help if you have questions about any of the steps.
Mixing Thinset

Mixing Thinset
This step is more important than it may seem. Getting the right consistency and timing for your thinset is vital to a successful installation.
The consistency and timing of your thinset are vital to a successful installation. For the best results, you want to know the open time and cure time of your thinset.
Open time is the amount of time you have to work with your thinset before it hardens—typically between 30-40 minutes, but the timing can vary by type of thinset, temperature, humidity and other factors.
To determine if your thinset is still usable, dip your finger in the bucket, if the thinset doesn’t stick to your finger, it’s past its prime. Toss the expired tinset, clean your bucket and mix up a fresh bash to continue with your project.
Cure time is the amount of time it takes for thinset to fully set once it’s installed. Refer to the manufacturer’s recommendations for cure times.
-
1. Check the manufacturer’s recommended ratio of water to powder. We recommend starting with a small amount of thinset, so you don’t waste material that has gone past its open time. Once you know how fast you’re working, you can increase the amount of thinset you use for your batch.
2. Fill your bucket with the appropriate amount of water.
3. Add the powder in small batches, thoroughly stirring after each batch to prevent clumps of unmixed powder. You will know you have added enough powder when your thinset has the consistency of peanut butter. If you can scoop the thinset with your trowel, turn it sideways, and the thinset hangs for a few seconds before dropping back in the bucket, you’ve achieved the right consistency.
4. Once you’ve reached the right consistency, let the thinset rest for 5–10 minutes (based on the manufacturer’s recommendation). This process is called slaking, it allows the chemicals to activate and crystals to form in the thinset, ensuring good adhesion.
5. When it has finished slaking, briefly remix thinset, and check for correct consistency.*Never rinse thinset down the drain as it will set and clog your pipes.
Laying Thinset

Laying Thinset
Thinset is responsible for keeping your tile attached to your floor—so it’s important to make sure it’s done right! We’ll break down all the steps and pass our expert experience onto you.
Once your thinset is ready, you can begin applying it to the substrate or underlayment with your notched trowel. For large-format tiles, you should also back butter the tile by applying thinset directly to the back of the tile.
Your notched trowel will leave grooves on the substrate and/or tile. Make sure these are all running in the same direction to achieve a consistent mortar bed beneath the tile. Hold the trowel at approximately a 45° angle as you spread the thinset to achieve a thick enough layer.

Laying Tile

Laying Tile
Your planning, mixing and thinset mixing have all paid off—it’s time to tile! Read our advice in this section to make sure it’s a project that lasts for years.
It’s time to learn how to lay the tile! Don’t forget to use spacers in between tiles to ensure consistent gap and grout lines throughout your installation.
When you set a tile into thinset, apply firm, even pressure. Wiggle the tile back and forth a bit to allow the ridges in the thinset to break down and fill in the valleys. This creates a solid layer of thinset beneath the tile.
After placing your first tile, lift it up and check that 80-90% of the back is covered with thinset. If you don’t have enough coverage, recheck the consistency and make sure you are using the correct size trowel at the correct angle.
Set your tiles in your chosen layout pattern (being sure to use spacers) until you reach the edge of the room. You have two options for the cut tiles at the edges:
- Lay down as many full tiles as possible first and save the cutting for after the floor has set, allowing you to walk on the floor while you work on the edges.
- Cut and install the edge tiles as you move along.
You’ll want to leave at least an eighth of an inch between the tile and the wall to allow for the natural expansion, contraction or shifting of the house. This space will generally be covered with wall tile or trim and caulked.
Check out our comprehensive guide on how to cut tile to ensure the cleanest cuts possible.

-
- Refer to the manufacturer’s recommended cure time before walking on your tile or beginning to grout.
- Measure the space between the edge and wall before you cut your tile, and don’t forget to take the grout joint into account.
- Make sure to clean all of your tools at the end of each day so that thinset and grout do not get caked on. Remember not to rinse or dump any thinset down the drain!
- Make sure to clean any excess thinset on tiles and in between tiles as you go. It’s much easier to clean when it’s wet.
- If you pause in your tiling, make sure to wipe away any thinset on the untiled floor to prevent it from drying and creating an uneven surface.
- Make sure to clean all your tools at the end of each day so that thinset and grout do not get caked on. Remember not to rinse or dump thinset down the drain!

Grouting

Grouting
Grout is more than just a nice line of color between your tiles. It provides an important function, bonding your tile and preventing it from cracking and chipping due to the movement of your home.
Preparing for Grouting
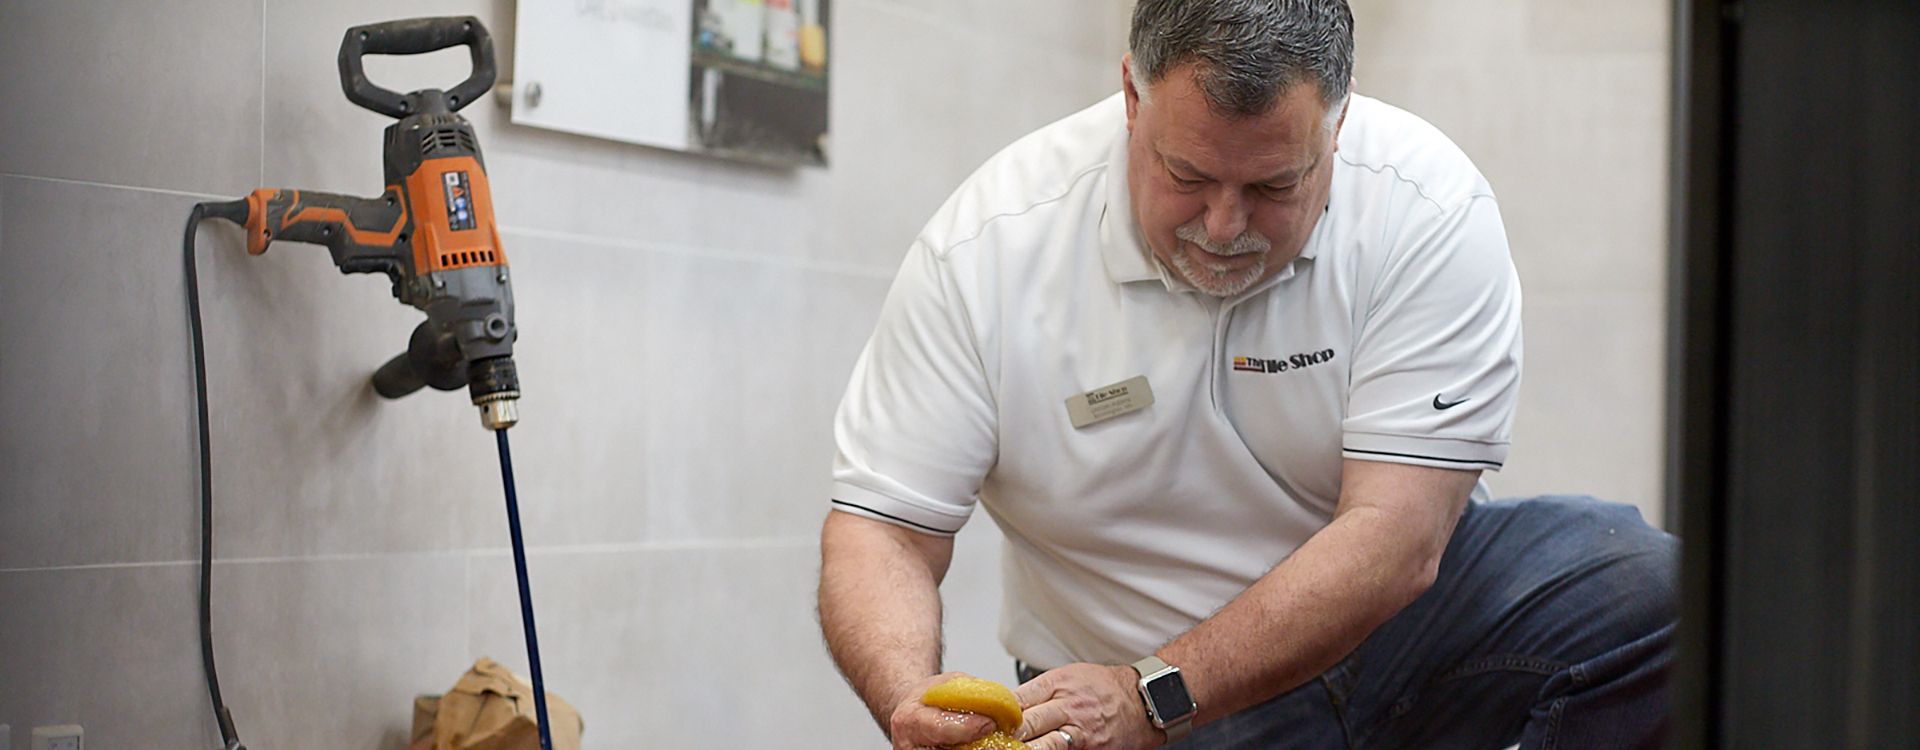
Prepare your space for grouting by cleaning off any excess thinset that may have squeezed into your gout joints with a utility knife. With an almost dry sponge, wipe down your tiles, making sure to swap out your water regularly to ensure you are working with clean water. Once your tiles and grout joints are clean, remove your spacers.
If you have installed a man-made tile, such as glass, porcelain or ceramic tile, now is a good time to apply a grout release. This will help prevent the grout from sticking to the surface of the tiles.
If you are using natural stone or encaustic cement tiles, we recommend also applying a stone sealer before grouting. For particularly heavily textured stones, you can also use a grout release after this step.
If you are not using a premixed grout, refer to the manufacturer’s recommendations for mixing your specific grout. Just as with thinset, you’ll need to check the grout manufacturer’s open times and cure times.
Instructions for mixing grout:
- Add the recommended amount of water to your bucket.
- Add the grout powder in batches to avoid clumping. You can add extra water later, if needed.
- Mix thoroughly to ensure consistent grout pigment and prevent streaking.
- Let the grout mixture set according to the manufacturer’s recommendation.
- Briefly remix before application.
Applying the Grout
For this step, you will need: your grout, a grout float, a bucket of clean water and a sponge (to clean off excess grout as you go).
Load your grout float with grout from your bucket. Hold the grout float at a 45° angle to the tile and swipe the float along the tile diagonally from your grout line. If you apply grout parallel to the joint, it will pull grout out of the joint instead of pushing it in. Make sure to fill the joint completely from top to bottom, and do your best to minimize the amount of excess grout on the tile.
We recommend alternating between grouting and cleaning every 10-30 minutes, depending on the type of grout, temperature and other factors. Refer to your grout’s open time to determine the ideal timing. Clean the grout from the tile surface with a slightly moist sponge, if you use too much water it can wash away the pigment in your grout.
Once you are finished grouting, a grout haze (a very fine coating of grout) will likely form on the surface of the tiles. This is normal. Let the grout set up for a few hours, and then use a grout haze remover and a dry or almost dry sponge or rag to clean your tiles. Come at the grout line at a diagonal to avoid removing grout from the joint.
Striking the Grout
Next, you’ll want to strike your grout line. To do this, you’ll use an almost dry sponge to pull across the grout, smoothing it. With the tip of your finger, apply light pressure to the corner of the sponge as you pull it across the grout.
Swap out your dirty water for clean water regularly, especially if you have a lot of grout haze. Follow the manufacturer’s recommended cure time.
Sealing

Sealing
In addition to protecting your tile or grout, sealers can also enhance their appearance. Give your installation a matte or shiny look and make sure it endures for the long run.
In addition to protecting your tile and grout, sealers can also enhance their appearance, giving your installation a matte or shiny look that will endure for years.
Not all grouts require sealing—check with a Tile Shop Tile Expert to determine if this step is necessary. If your grout needs to be sealed, wait until it is fully cured. After sealing man-made tile, wipe any excess sealer off with a dry rag to avoid a filmy residue.
Caulking

Caulking
Caulk is used to create a strong and waterproof bond between joints, whether between tiles, walls, counters or bathroom accessories.
Caulk is used to create a strong and waterproof bond between joints, whether between tiles, walls, counters or bathroom accessories.
You should caulk all 90° tile joints, whether they are between tile and wall, tile and counter or two walls. There are different types of caulk and application methods, so ask a Tile Expert at your local Tile Shop to recommend the best one for your project.