6 6 6
The Tile Shop Logo

How to Regrout Bathroom Tile

Regrouting your bathroom tile is a relatively straightforward and approachable DIY home improvement project that can make a dingy bathroom wall look like new. Whether your grout is cracking and falling out or is simply discolored and in need of a refresh, regrouting can make a world of difference.

Follow our step-by-step guide to regrout your bathroom tile.

Tools You’ll Need

  • Masking tape
  • Drop cloth or plastic sheeting
  • Oscillating multitool or manual grout removal tool
  • Shop vac
  • Trowel
  • Bucket
  • Grout float
  • Grout sealant
  • Sponge
  • Soft, dry cloth


How to Regrout Bathroom Tile in 7 Easy Steps

01
of 07

Prepare the Work Area

Before you start, cover the tub's drain with masking tape to ensure dust and debris does not get into your plumbing. Next, place a drop cloth or plastic sheeting over fixtures and countertops. If you can remove any fixtures, such as the handles or the faucet, do so. Protecting your tub and fixture helps prevent them from being scratched by the coarse grout remnants.

02
of 07

Remove the Old Grout

Before the new grout can go in, the old grout must come out.

The easiest way to remove old grout is with an oscillating multitool. However, if you do not have one on hand, it can be more investment than some DIY bathroom remodelers want to make, especially for a one-time use. If you are looking for a more cost effective tool, manual grout removal tools tend to be about 10% the cost but do require significantly more elbow grease.

Use the grout saw or oscillating tool to score along the grout lines to create a shallow groove. This will make it easier to remove the old grout. Once the grout is scored, continue chipping away at it, being careful not to damage the tile. Use the shop vac to vacuum the dust and grout remnants as you go.

03
of 07

Clean the Tiles

Once the old grout is removed, clean the area thoroughly. Use the shop vac to remove any grout and dust that remains and then wipe the tiles with a damp sponge to remove any remaining debris. A clean work surface is necessary to ensure the new grout sticks.
04
of 07

Mix the Grout

In a large bucket, combine dry grout mixture and liquid according to the grout manufacturer's instructions. Only mix as much grout as you will be able to use within about 30 minutes to prevent your working grout from drying.

05
of 07

Apply the New Grout

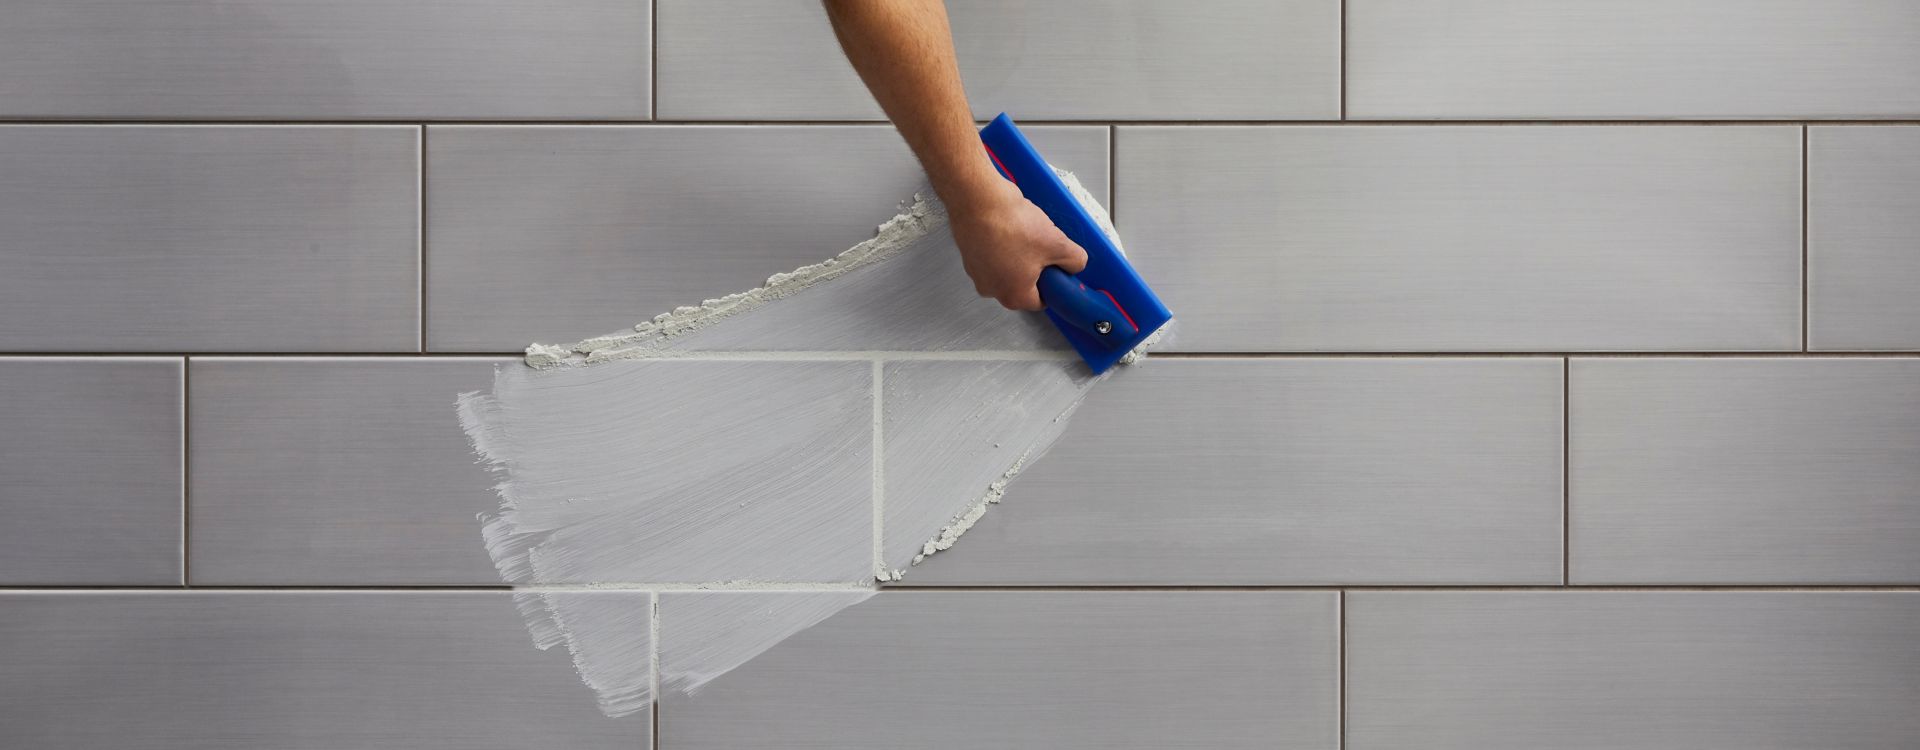
Once the grout is mixed, it's time to apply it to the joints. Gather a dollop of grout onto your grout float and position the float against the tile at a 45-degree angle. Spread the grout into the joints using firm, diagonal strokes. You will need to go over the entire area multiple times to ensure the grout has fully filled all the joints.

When you are finished, pull the grout float diagonally across the surface to remove as much excess grout as possible. This will make cleaning up much simpler.

06
of 07

Finishing Touches

After about 15 to 30 minutes, the grout will start to set. At this point you can use a grout shaper to put the finishing touches on the joints. This will give your grout a neat, professional look.

Once the grout is finished, gently wipe the surface with a damp sponge to remove any excess grout. Be sure the sponge is not excessively wet, or it will pull the grout from the joints. Use a light, circular motion to smooth the grout and eliminate any pinholes before wiping the grout clean. Rinse the sponge frequently and change the water as needed. To prevent digging out the grout, make sure you wipe diagonally and only wipe in one direction.

A powdery residue known as grout haze will be left on the tile surface when this process is complete. Simply polish the tile with a soft, dry cloth to remove the grout haze. For more stubborn haze or to make this step go more quickly, you can also use a grout haze remover.

07
of 07

Cure and Seal the New Grout

Allow the grout to cure for 24 to 72 hours, depending on the manufacturer's instructions. Do not use the bath or shower while the grout is curing, or you could weaken it and may need to start over.

After the grout has fully cured, it's a good idea to apply a grout sealer to help resist future stains and moisture. Follow the grout seal manufacturer's instructions for applying. Be sure to let the grout seal dry fully before using the bath or shower. You will know the sealant has fully dried if water beads on it.

Top Tips for Regrouting Bathroom Tile

  • Work in small sections. Don't try to grout the entire bathroom at once. Work in one area at a time to prevent the grout from drying out before you can smooth it. And, because grout dries so quickly, only mix as much as you can work with in 15-20 minutes.
  • Clean as you go. To keep the process even more efficient, have a couple of buckets of water and sponges ready for cleanup. Use one bucket to rinse the sponge and the other to hold clean water for wiping. Change the water frequently to avoid smearing grout back onto the tiles.
  • Caulk corners and edges. Instead of grouting the corners and edges where the tile meets another surface (such as where tile meets the tub), use caulk. Caulk is more flexible and can prevent cracks in the grout due to expansion and contraction common in high humidity environments like bathrooms.

Bathroom Regrouting FAQs

  • Is it hard to regrout bathroom tile?

    From a skills perspective, regrouting bathroom tile is an easy project. However, it is also a project that requires patience. Removing the old grout can be tedious and time-consuming, especially if you're using manual tools. Applying the new grout also requires some practice to achieve a smooth and professional finish. Having the right tools (like a high quality grout saw or oscillating multitool for removal, and a grout float for application) can make the job easier.

  • Can I put new grout over old grout?

    Generally, no. In most cases, the new grout will not adhere to the old grout, which can lead to cracking, crumbling, and even potentially developing mold and mildew. You should always remove as much of the old grout as possible to ensure a clean working surface that the new grout can stick to.

  • Is it better to regrout or retile a shower?

    If your shower's tiles are in good shape, it's better to regrout your shower. Retiling is only needed when your shower's tiles are cracked or when you want to totally remodel your bathroom for a fresh new look. Retiling can be many times more expensive and takes significantly longer compared to regrouting.

  • What is the average cost of regrouting a shower?

    Costs vary depending on the size of the area you are regrouting. However, the average homeowner can expect to spend a total of between $500 and $2000 on a bath or shower regrouting project, with an average cost per square foot of between $15 and $30.

  • How long does regrouting shower tile take?

    Regrouting shower tile can generally be done in one afternoon. A few hours will be spent removing the old grout and then about that same amount of time will be spent cleaning up, adding the new grout, and adding the finishing touches. A good rule of thumb is to expect the project to take 15 minutes per square foot. So, for example, a 16 square foot area would take 4 hours and a 32 square foot area would take 8 hours.