6 6
The Tile Shop Logo
Video ID OwJOqGYtpu0?si=Xn6xqe3JQyzN1LzL not found in youtube service to generate https://schema.org metadata.

How to Finish Tile Edges: 3 Go-To Techniques

It might seem like a minor detail, but properly finishing tile edges as the final step of your tile installation can have a major impact on the overall look of a space. In addition to protecting your installation from wear and tear, finishing the edges of a tiled area will give your project a polished, professional quality that can’t be achieved when raw edges of tile are visible.

In this article, we’ll demonstrate step-by-step instructions for three common methods for finishing tile edges: 1) bullnose tile, 2) pencil trim pieces and 3) metal profile pieces. Whether you’re wondering how to finish tile backsplash edges, create an attractive shower bench, or complete any other tile project, using one of these techniques will instantly elevate your installation.

All three are effective and attractive solutions to the question of how to make exposed tile edges look finished, but each offers a different look; ultimately, your decision will come down to which one you prefer. Watch the accompanying video to compare the finished looks and make the best design choice for your project.


Materials and Tools

In most cases, the tools and equipment you need to finish tile edges are the same ones you already have out for your tile installation, such as thinset, a margin trowel, a notched trowel, a bucket of water with a sponge, and tile spacers.

Materials and tools needed for finishing the edges of a tile installation. Items include a miter box and hacksaw, bucket of clean water and a sponge, bucket of thinset mortar, various trowels, and tile spacers and wedges.

You may also need to use tile-cutting tools or saws to cut down larger pieces of trim materials to the correct size for your project area. A wet saw is our top pick for cutting bullnose tile and pencil trim, while a miter box with a hacksaw is a safer choice for cutting metal profile trim.

Whatever saw type your project requires, always use appropriate protective equipment to cover your eyes, ears and/or face when cutting tile or trim pieces.

01
of 03

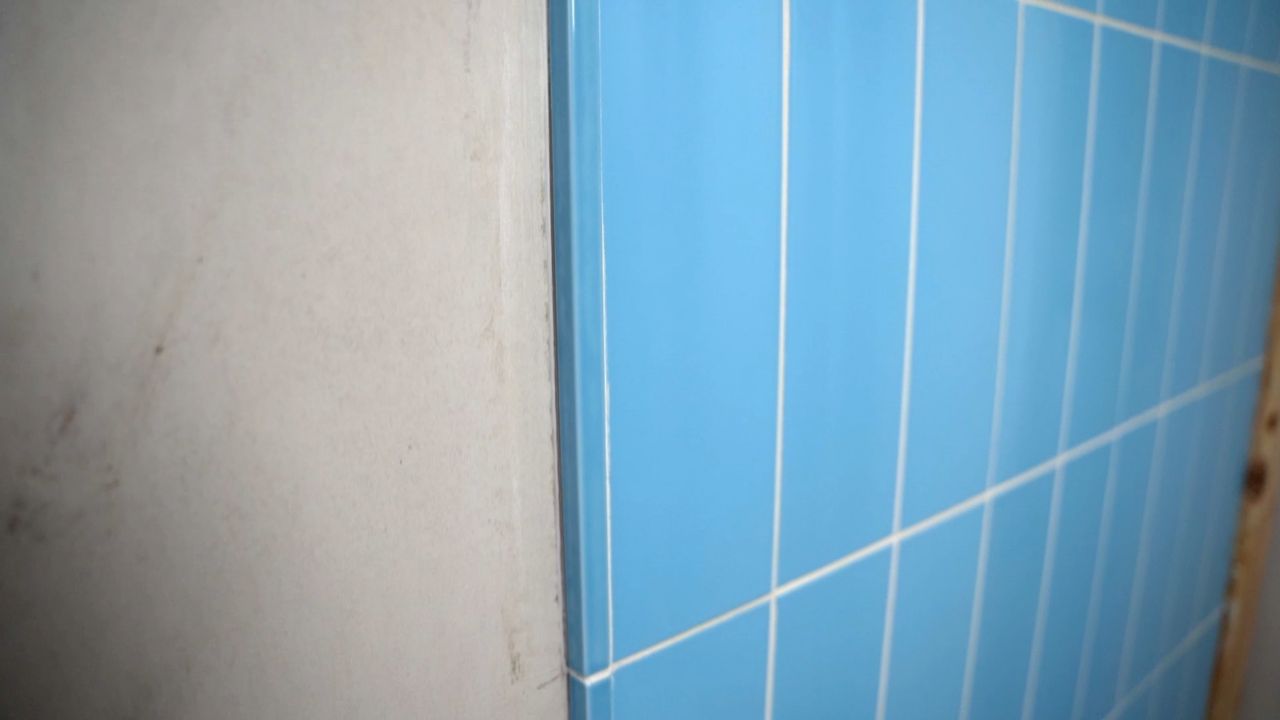
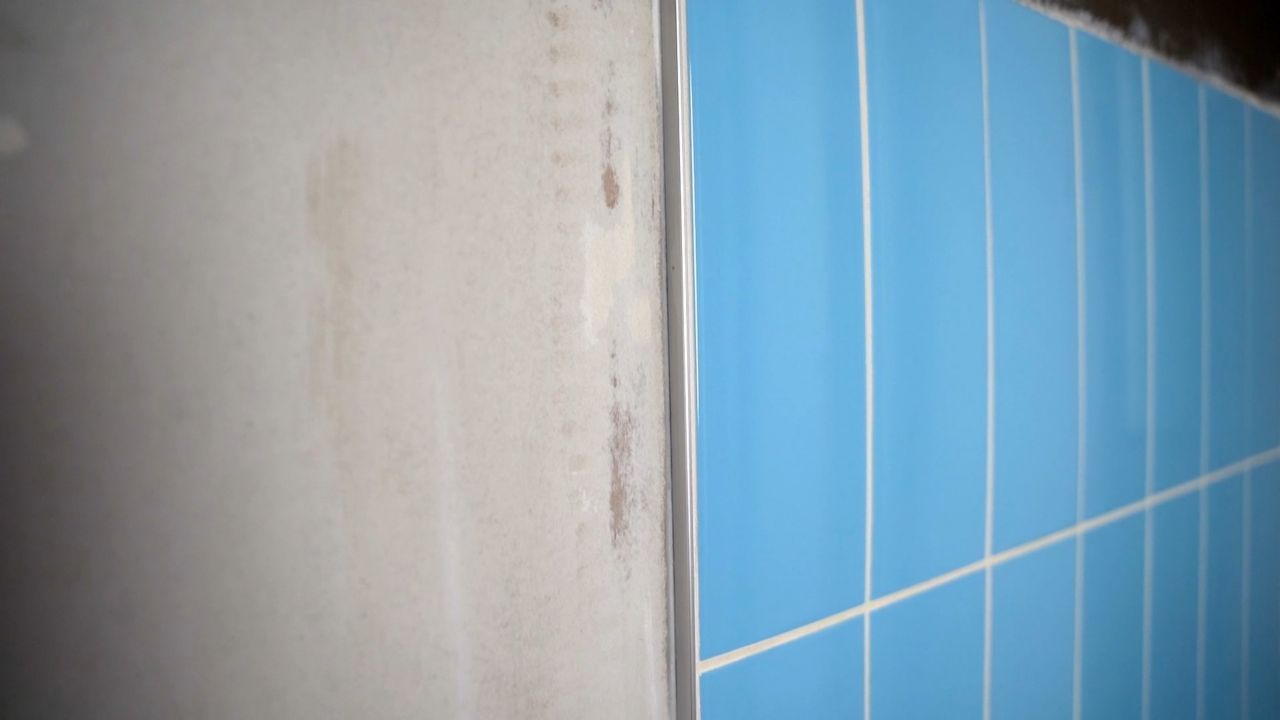
Installing Bullnose Trim

Example of shower wall tile with a bullnose edge. Installing bullnose tile is a simple way to create a transition from a tiled area to another surface.

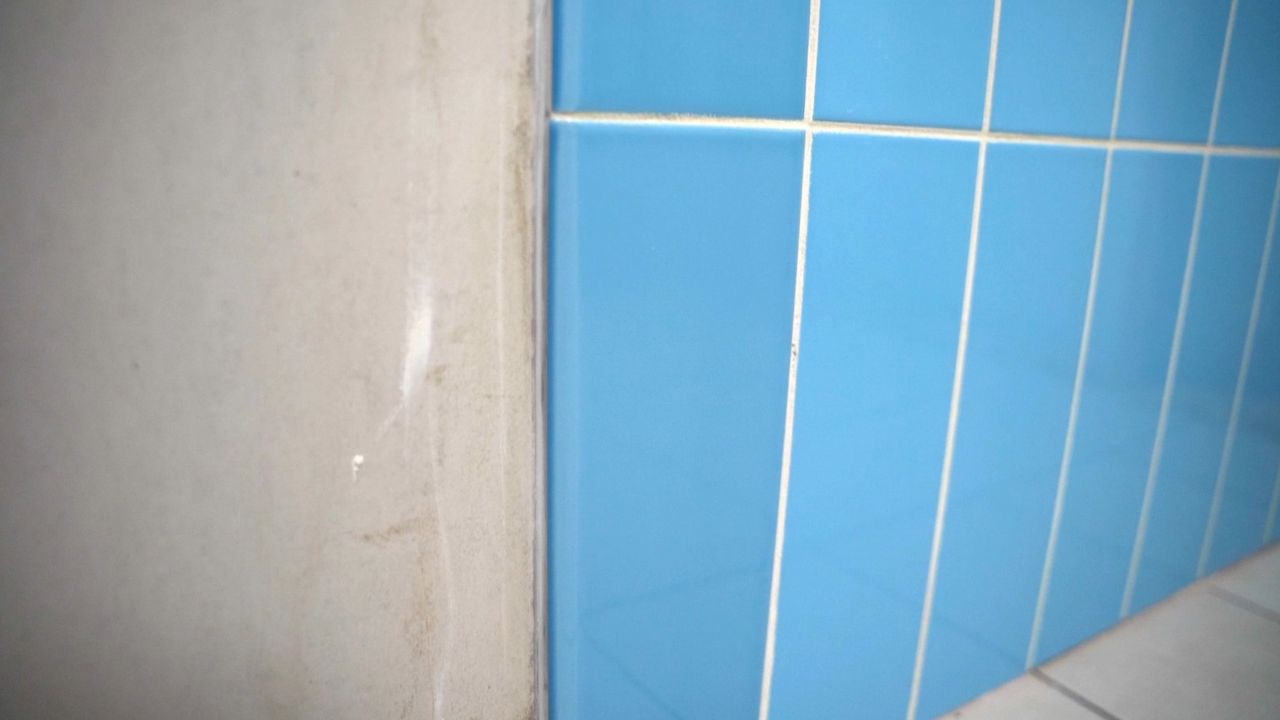
Bullnose tiles are regular tiles that have a rounded edge on one side. Installing tiles with a bullnose edge around the outer border of a tiled area is a simple method for finishing tile edges.

You can often buy matching bullnose pieces designed to coordinate with the rest of your tile, like long side bullnose tiles, short side bullnose tiles, and even double bullnose shapes for the corners of a tile perimeter, depending on the needs of your design.

Back to top


Steps to Install Bullnose Trim

  1. Using the flat side of a trowel, apply a thin skim coat of thinset to the back of a piece of bullnose tile. Apply another skim coat of thinset to the portion of wall surface where you will place the tile.
  2. A person using a trowel to apply a skim coat of thinset mortar to the back of a tile prior to installation.

  3. Apply extra thinset to wall using notched side of trowel. Notches should run parallel to the shortest edge of the tile.
  4. Applying thinset mortar to a wall using a notched trowel. The notches run in the same direction as the shortest edges of the tile.

  5. Apply bullnose tile to wall, pressing firmly to securely embed it in the thinset.
  6. Use a wet sponge to wipe the surface of the tile clean.
  7. Insert spacers to ensure proper distance for grout joints, and use a trowel to scrape away excess thinset from the area of wall around the tile.
  8. To create uniform grout joins, tile spacers and wedges are placed between blue tiles on a shower wall during a tile installation.

02
of 03

Installing Pencil Trim

“Pencil” is the term for a finishing piece of tile with a thin, elongated shape. Similar to bullnose tiles, pencil pieces are available in a wide variety of natural stone and manmade materials (including metal). The Tile Shop offers a variety of shapes within the overall pencil category, including our signature rounded Somerset shape, plus dimensional pieces that resemble decorative wood molding and simple squared-edge designs, like the one used for this demonstration.

Example of shower wall where coordinating pencil trim tile has been used to finish the perimeter of the tile edges and transition from tile to drywall.  

Installing pencil trim follows the same general steps used for installing the larger bullnose tile. However, you’ll notice that we recommend removing excess thinset from the area around the pencil immediately after putting it in place, rather than as a finishing step.

This is a matter of tile size: Because of its small surface area, pencil tile is more prone to moving around while thinset is still wet, which would cause you to have to go back and readjust those pieces. Removing the excess thinset before cleaning the tile and inserting spacers helps avoid this issue.

Back to top


Steps to Install Pencil Trim

  1. Apply thinset to wall using notched side of trowel. Notches should run parallel to the shortest tile edge.
  2. Using a margin trowel, completely fill in the channel on the back side of the tile with thinset. If necessary, apply additional thinset for edge-to-edge coverage; this ensures the trim piece will hold securely once it’s embedded on the wall.
  3. A person using a trowel to apply thinset mortar to the back of a piece of pencil trim tile. The channel on the back of the tile has been completely filled with mortar so the piece will securely bond to the wall.

  4. Apply pencil trim to wall, pressing firmly to securely embed it in the thinset.
  5. Use a trowel to scrape away excess thinset from the area of wall around the tile.
  6. Use a wet sponge to wipe the surface of the tile clean, and insert spacers to ensure proper distance for grout joints.

03
of 03

Installing a Metal Profile Piece

Metal profile pieces are a popular choice for protecting delicate tile edges while creating a streamlined transition from tile to another surface, such as drywall. They are commonly offered with either rounded or squared edges, and come in a range of metal tones and finishes, making it easy to coordinate with the other fixtures in a room..

A close up shower wall tile, where a metal profile trim piece has been used to create a streamlined transition between the shower tile and the adjacent drywall.

Unlike bullnose tile and pencil-shaped trim pieces, metal profile pieces are installed before you set your final row of tile. Only a portion of metal trim is visible after installation. The narrow edge side provides a visually pleasing finish to a tiled area, while the “leg” of the piece—the wide, flat part with triangle cut-outs—lays flush with the wall, securely embedded underneath the tile.


Metal profile edging is sold in long pieces, so you will need to cut it to size. For safety reasons, our preferred tool for cutting metal edging is a miter box and hacksaw, but a wet saw can also be used.

A person uses a miter box and saw to cut a piece of metal profile trim to the correct length.

Steps to Install Metal Profile Pieces

  1. Apply thinset to wall using notched side of trowel. Notches should run parallel to the shortest tile edge.
  2. Embed the leg of the metal trim piece all the way into the thinset. Press down, moving slightly back and forth, until thinset comes through the triangular cutouts.
  3. Applying pencil trim piece to wall, and embedding the leg of the trim piece into the thinset mortar below. The tile will be installed on top of this piece.Tip: Use the edge of a margin trowel to press down on the leg, if needed.

    A person using a trowel to embed the leg of a piece of metal profile trim into thinset mortar. Tile will be installed on top of the embedded portion of the trim piece, and the leg holds the trim in place.

  4. Apply additional thinset to the back of your tile in the area where the profile will sit behind the tile. This ensures there is ample thinset to cover the metal, and the tile will securely adhere to the wall.
  5. A person using a trowel to apply thinset mortar to the back of a piece of tile, focusing on applying extra mortar in the places where a metal profile piece will sit underneath the tile.(Alternatively, you can use your notched trowel to apply additional notched rows of thinset directly over the embedded leg of the profile.)

  6. Apply tile to wall, embedding into the thinset. Use a wet sponge to wipe the surface of the tile clean.
  7. A person installing tile on a wall. A piece of metal profile trim is already embedded in the thinset, so the edge of the completed installation will have a clean, finished look.
  8. Insert spacers to ensure proper distance for grout joints. Tip: Insert tile wedges between profile trim and tiles to create a narrow space for grout. This adds a uniform appearance to your finished installation.

Top Tips for How to Finish Tile Edges

Whether you’re working with marble, porcelain, ceramic or any other material, you can turn to these techniques again and again to create polished, professional-looking results in a variety of spaces. Here are a few of our pros’ best tips for getting your best possible results every time:

  • In the accompanying video, our tile pro refers to “burning” the thinset at various points. This is another term for applying a thin skim coat of thinset to the back of your tile or to the wall, and it’s an important step in creating a strong bond between your tile/trim and the surface beneath.
  • When using your notched trowel, remember that notches should run parallel to the shortest edge of the tile you’ll be using. This allows air to escape quickly from behind the tile during application step.
  • Each method of finishing tile edges offers a different look. Let your overall project design inform your decision.

Back to top