Planning Your Layout

As the saying goes, measure twice, and cut once. Putting in the time to plan your layout before you begin will always be worth it in the long run and will make your installation look even better.
Once you have all the tools and materials you need, the next step is to start planning the layout of your design. This is an important step because once you start installing tile, it’s hard to go back and rethink the layout.
First, find the center of the room. The easiest way to do this is to measure the length of one wall and divide that number in half. Next, measure the opposite wall and divide that number in half. Then, draw a line on the floor connecting the two center points. Repeat this process with the other two walls. You should now have two lines that intersect at the center point of the room.
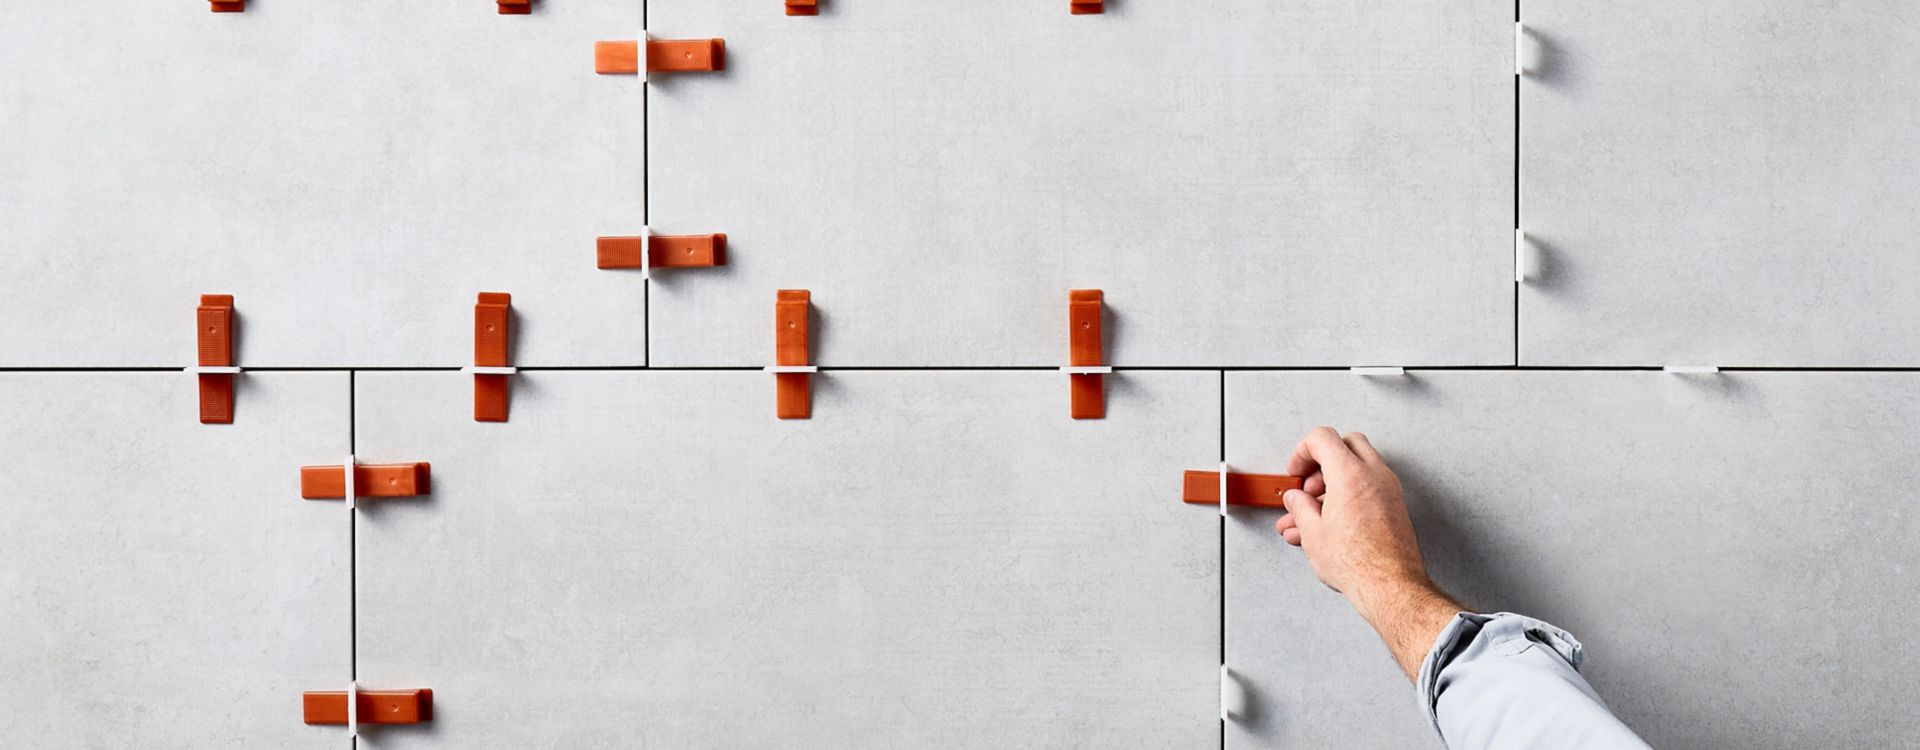
To plan your layout, you’ll first place tiles on the ground without adhesive. Start from the center point and lay a row of tiles (including spacers) in one direction. You don’t want to end with a sliver cut (less than half of a tile) at the end of the row. Shift your starting point if your row ends with less than half a tile.
Next, lay another row of tiles at a 90° angle from the first, and adjust your layout if you encounter a sliver cut. Be sure to account for any design features you are incorporating in your layout, such as diagonal tile, unique pattern or tiled border.
Once you have decided on the tile layout, plan the order in which you will tile each section of the room. Make sure to finish in front of a door so you can easily exit without stepping on the tiles. If you are tiling walls and floors, we recommend starting with floors so that your wall tile will overlap and sit on top of the floor tile. This ensures that water will run onto the floor tile instead of into the grout joint or under the tile.
Installation
It’s time for the exciting part! Read on to learn about all the essential steps of installation and hear our expert tips to make it all go smoother.
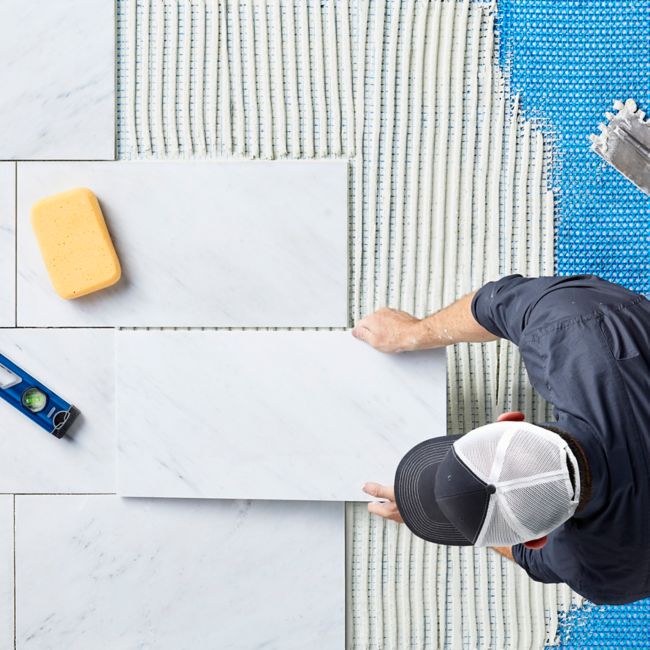
You’ve picked out your wall or floor tile, planned your layout and gathered the necessary tools and materials. Now you’re ready to start the installation process!
Before you begin, we recommend reviewing all the following steps so you can plan for each step in the process. We’ll cover mixing and laying thinset, laying tile, and finishing touches, like grouting, sealing and caulking. Our Tile Experts are available to help if you have questions about any of the steps.
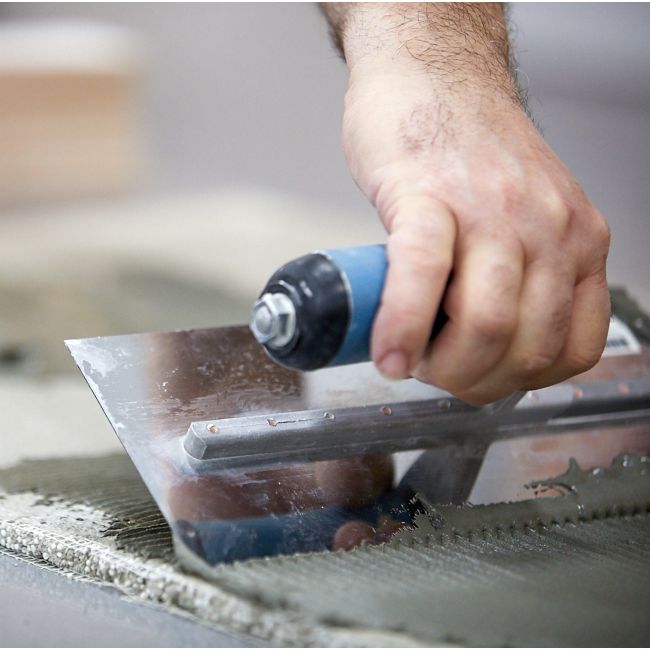
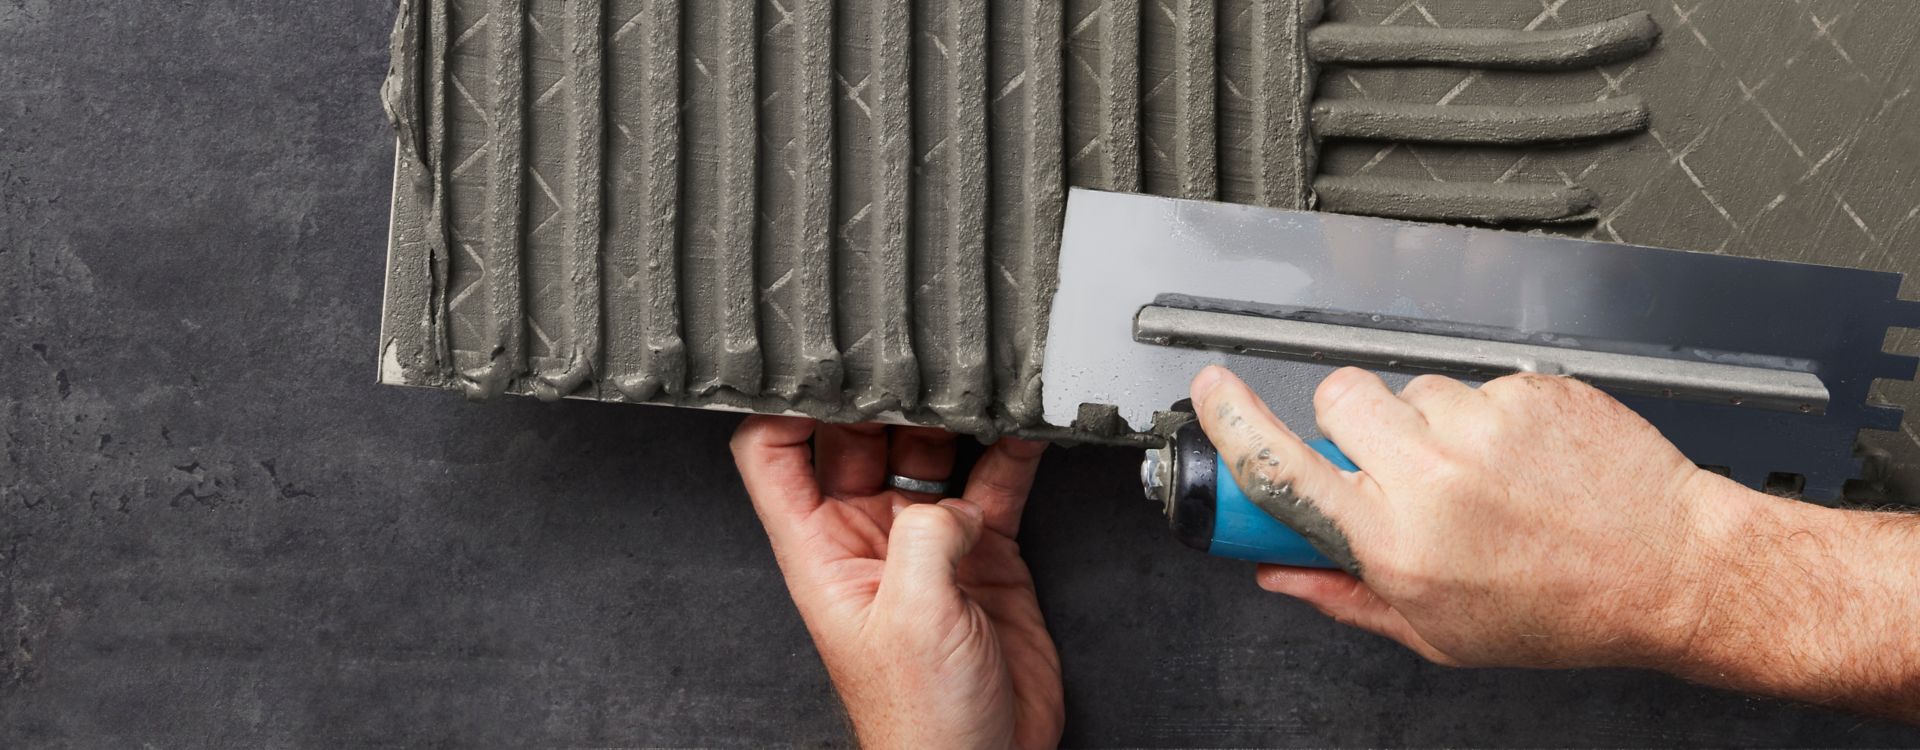
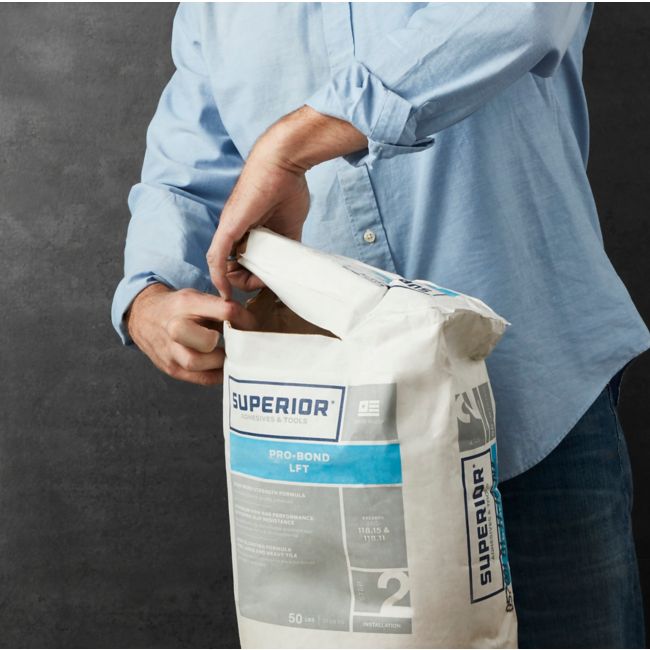
Mixing Thinset

This step is more important than it may seem. Getting the right consistency and timing for your thinset is vital to a successful installation.
The consistency and timing of your thinset are vital to a successful installation. For the best results, you want to know the open time and cure time of your thinset.
Open time is the amount of time you have to work with your thinset before it hardens—typically between 30-40 minutes, but the timing can vary by type of thinset, temperature, humidity and other factors.
To determine if your thinset is still usable, dip your finger in the bucket, if the thinset doesn’t stick to your finger, it’s past its prime. Toss the expired tinset, clean your bucket and mix up a fresh bash to continue with your project.
Cure time is the amount of time it takes for thinset to fully set once it’s installed. Refer to the manufacturer’s recommendations for cure times.
Steps to Mixing Thinset
- Check the manufacturer’s recommended ratio of water to powder. We recommend starting with a small amount of thinset, so you don’t waste material that has gone past its open time. Once you know how fast you’re working, you can increase the amount of thinset you use for your batch.
- Fill your bucket with the appropriate amount of water.
- Add the powder in small batches, thoroughly stirring after each batch to prevent clumps of unmixed powder. You will know you have added enough powder when your thinset has the consistency of peanut butter. If you can scoop the thinset with your trowel, turn it sideways, and the thinset hangs for a few seconds before dropping back in the bucket, you’ve achieved the right consistency.
- Once you’ve reached the right consistency, let the thinset rest for 5–10 minutes (based on the manufacturer’s recommendation). This process is called slaking, it allows the chemicals to activate and crystals to form in the thinset, ensuring good adhesion.
- When it has finished slaking, briefly remix thinset, and check for correct consistency.