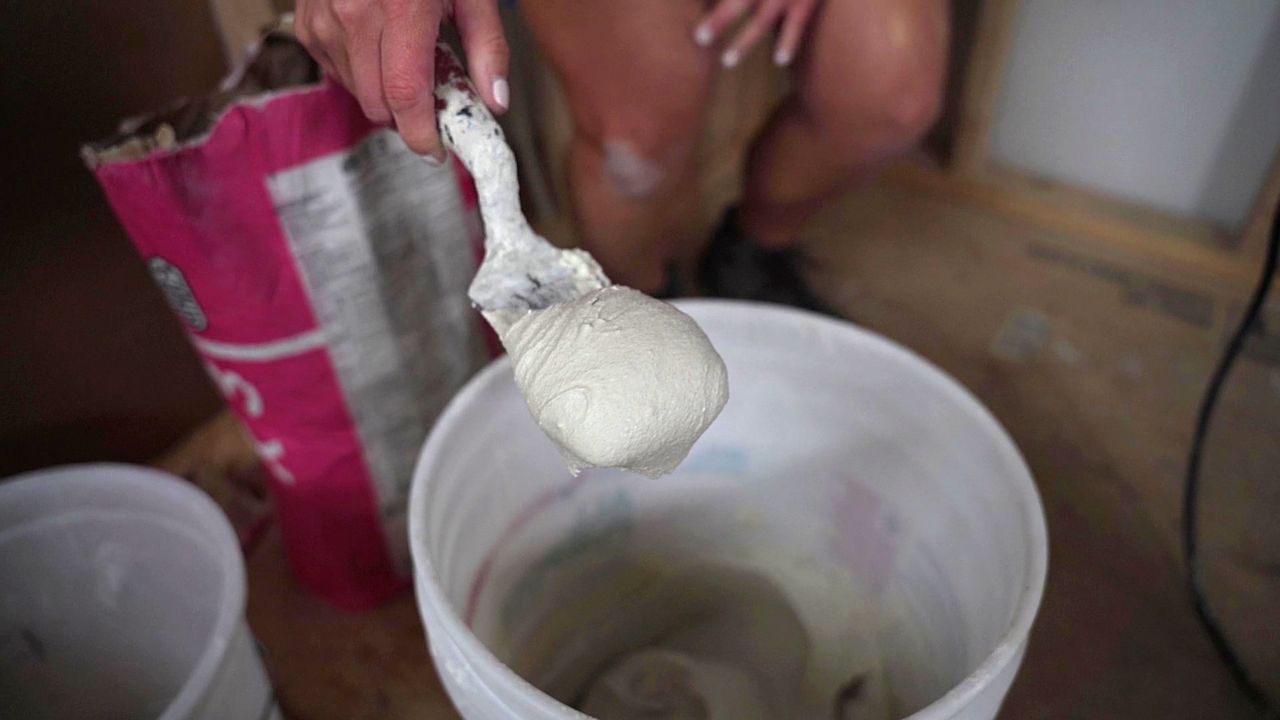
Waterproofing the shower is a vital step to any shower build. If you want your tile installation to last, you need to make sure your shower is truly waterproof in order to prevent mold growth and avoid costly water damage.
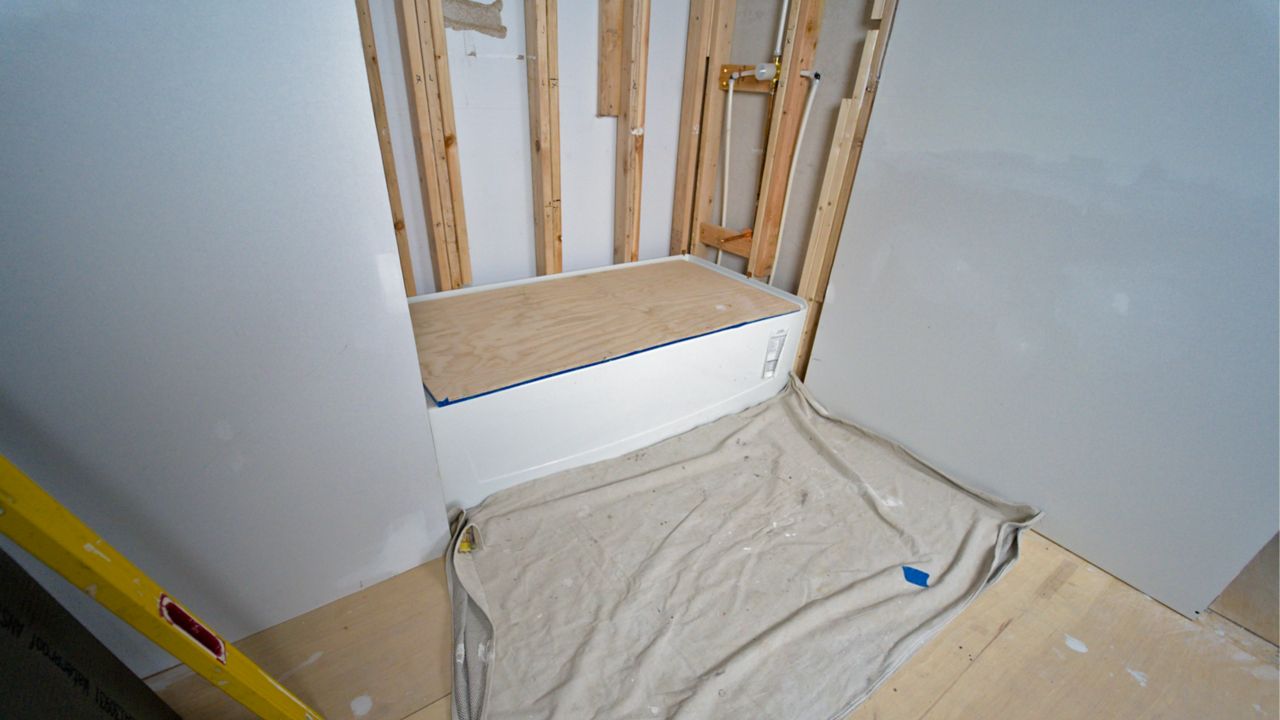
For this demonstration, I am tiling above a tub, so I don’t need to build a shower pan. If you are tiling a stand up shower and need to build a shower pan as well, I highly recommend a complete shower system like the Wedi system I am using here. They have step-by-step installation guidelines, warranties, and require far fewer steps than older/traditional methods for waterproofing a shower.
How to Install a Shower Wall Kit
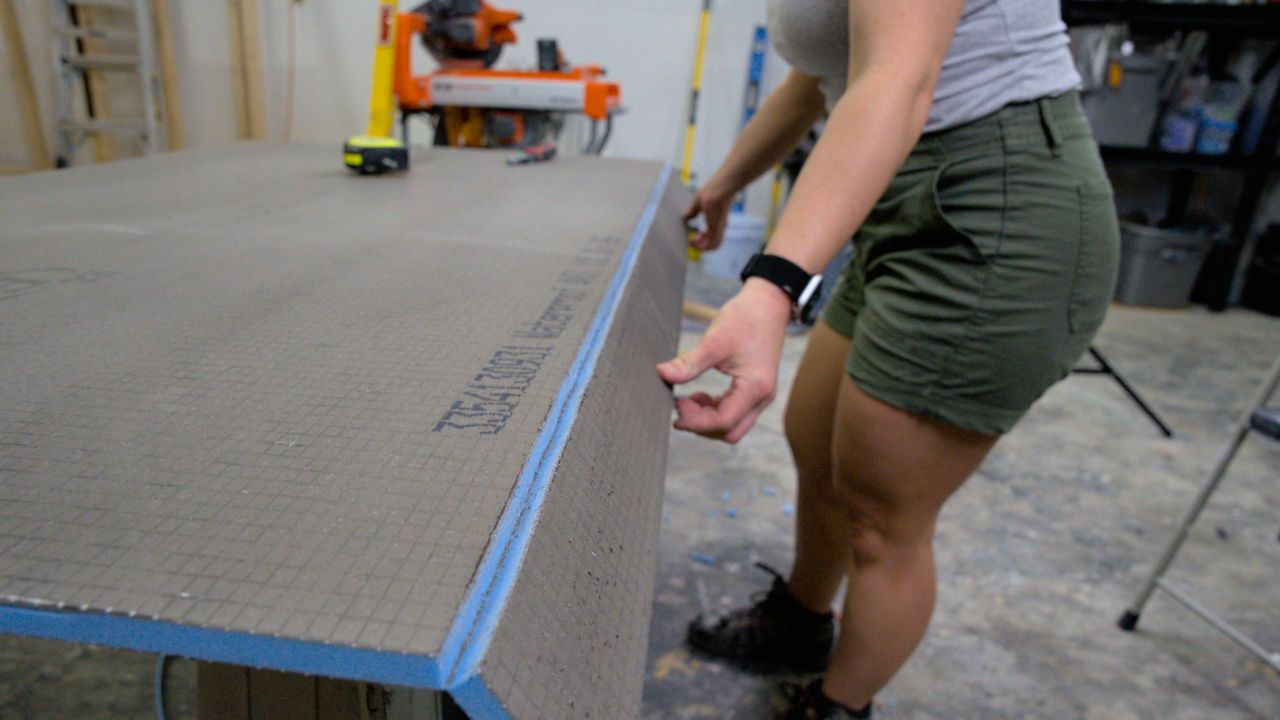
Measure, Mark & Cut Boards
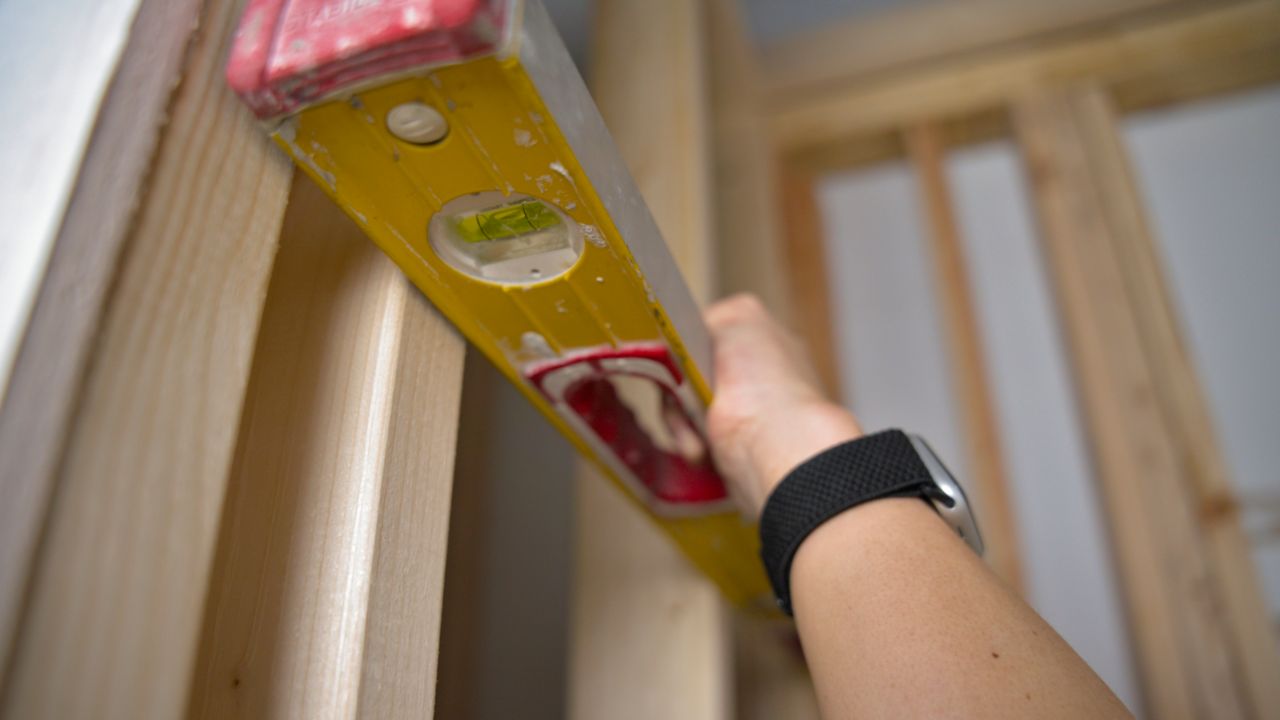
Starting on the back wall, measure the width of the wall. Mark your measurements on the building panel and use a straight edge to make your cut line.
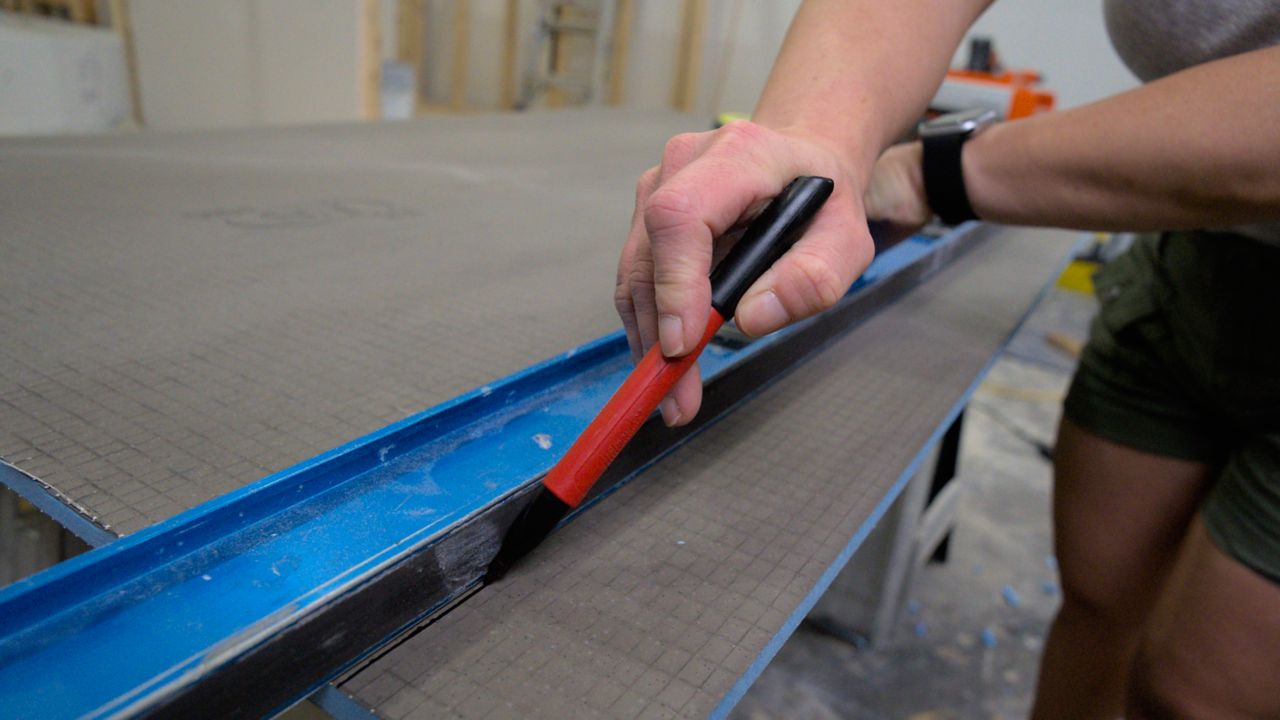
Using a utility knife, score along your line. Using two hands, snap the board along the score line and cut the back of the board again with your utility knife to complete the cut.
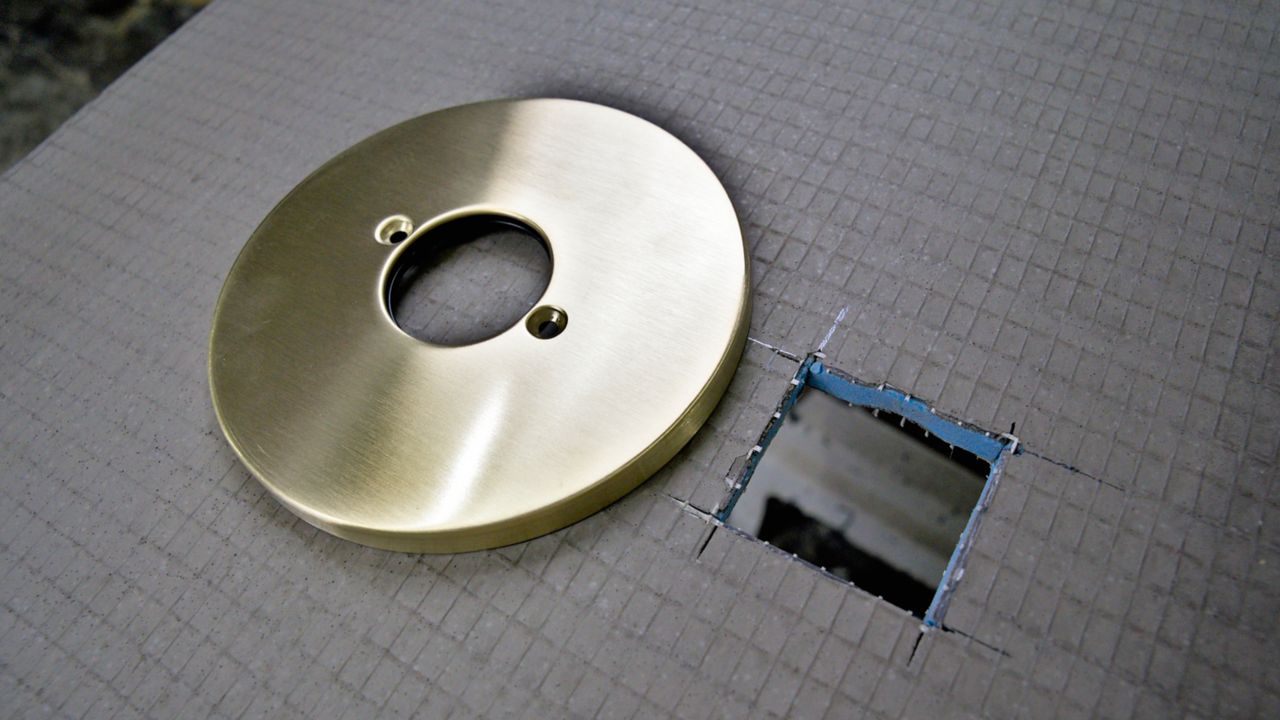
Cut Around Fixtures and Flange
To cut around the valve, shower head and tub spout, you can either cut out a square using your utility knife, or use a hole saw bit on your drill to cut a circle of appropriate size. Make sure your shower valve cut is large enough to fit around the valve, but not so large that the finished plate cover won’t cover it.
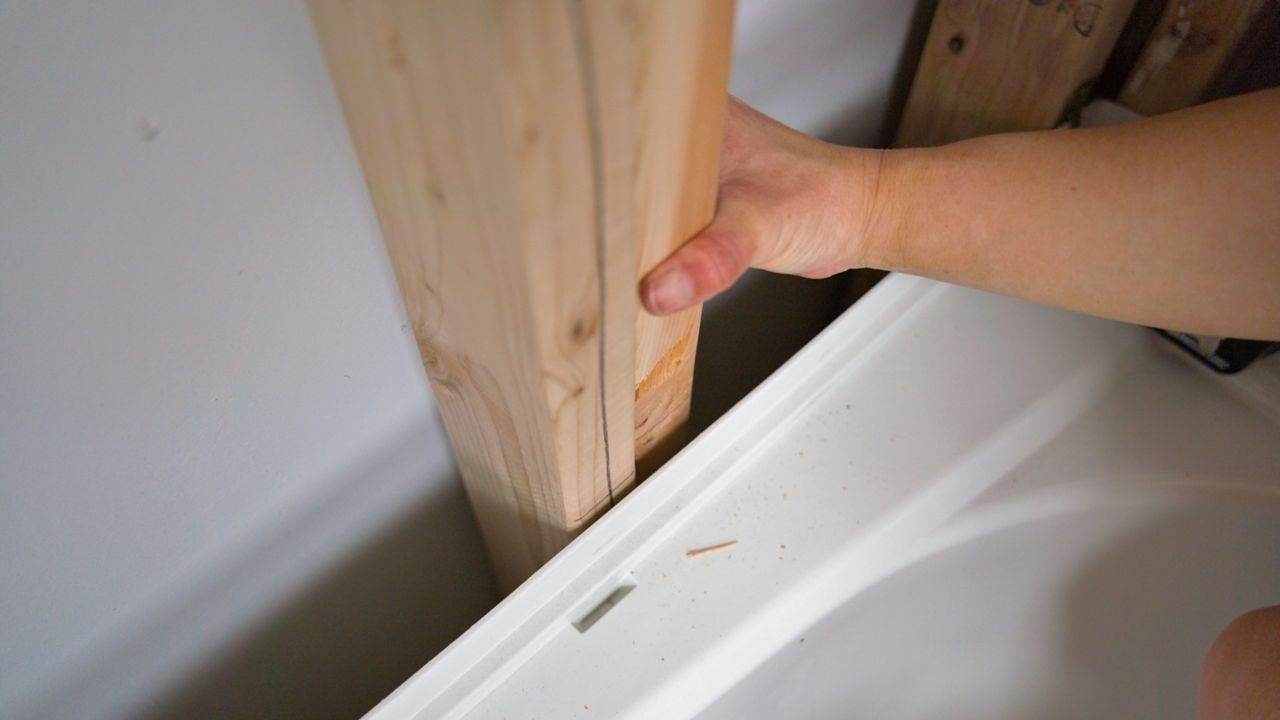
Since we are tiling over a tub with a flange, we’re going to notch out the back of the board so it sits flat to the studs. First, score the back of the board to the depth of the tub flange, then fillet the back of the board with our knife, which allows space for the tub flange to sit behind the board.

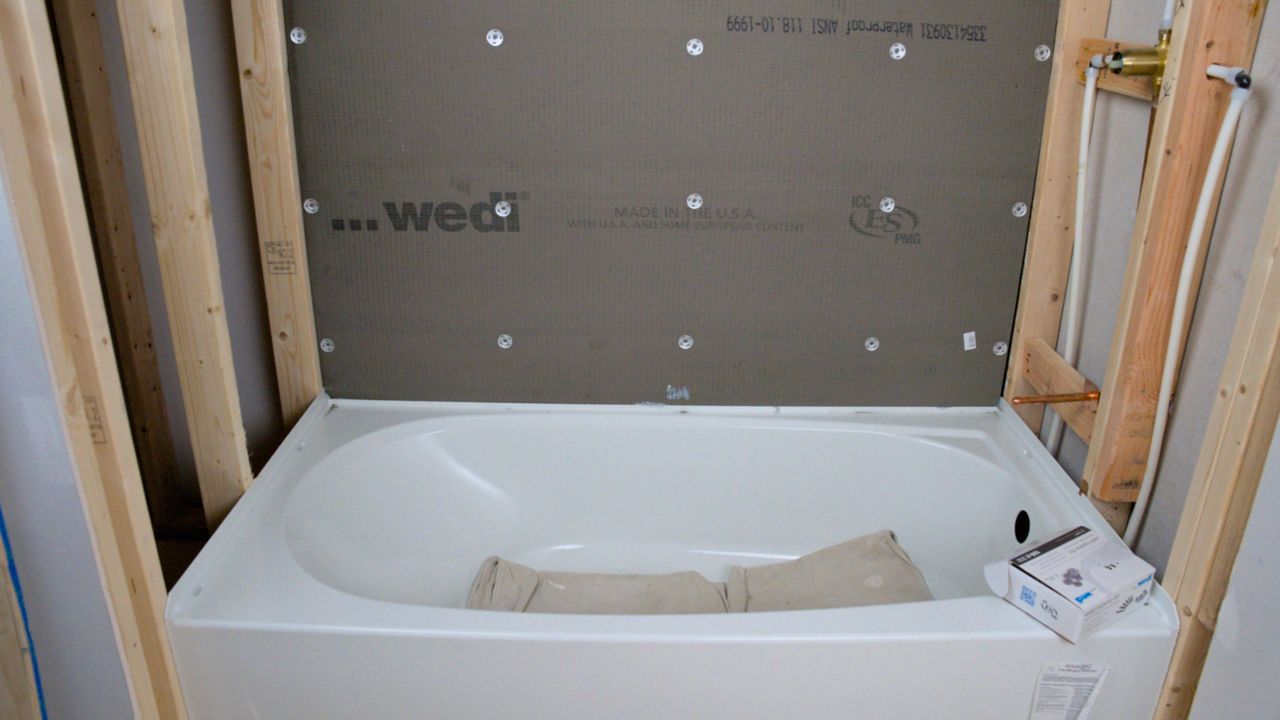
Start With the Back Shower Wall
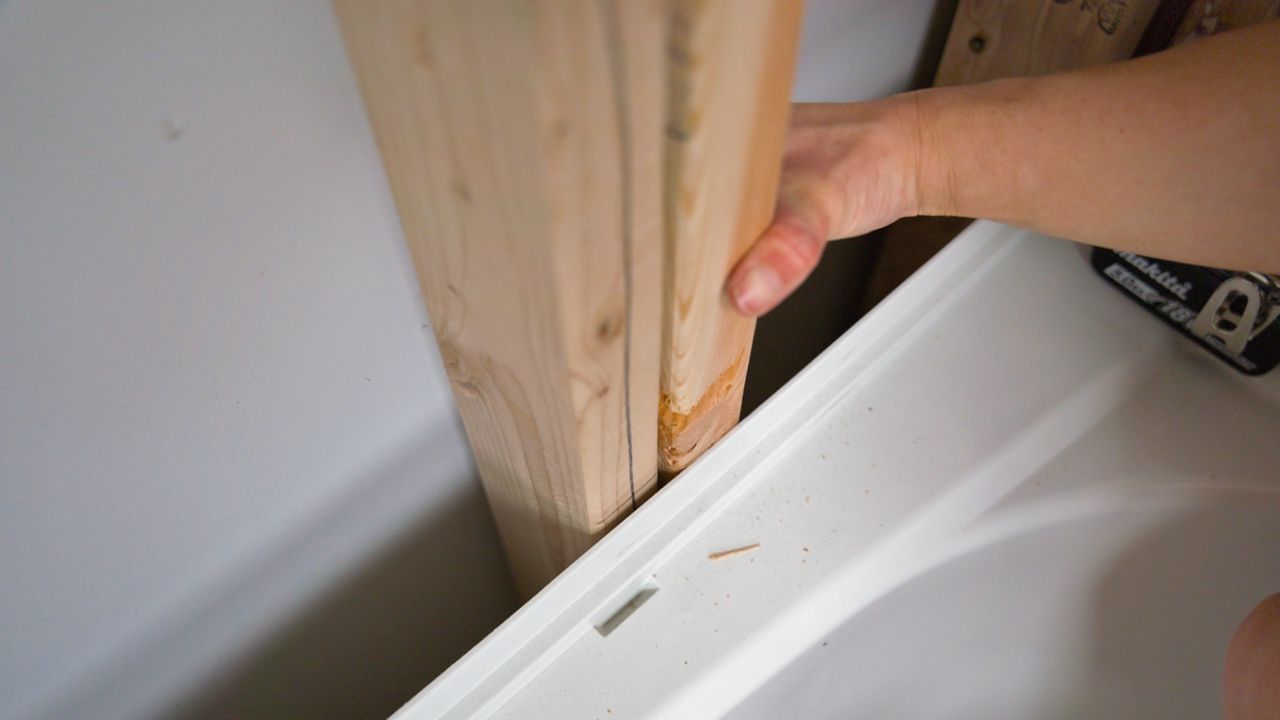
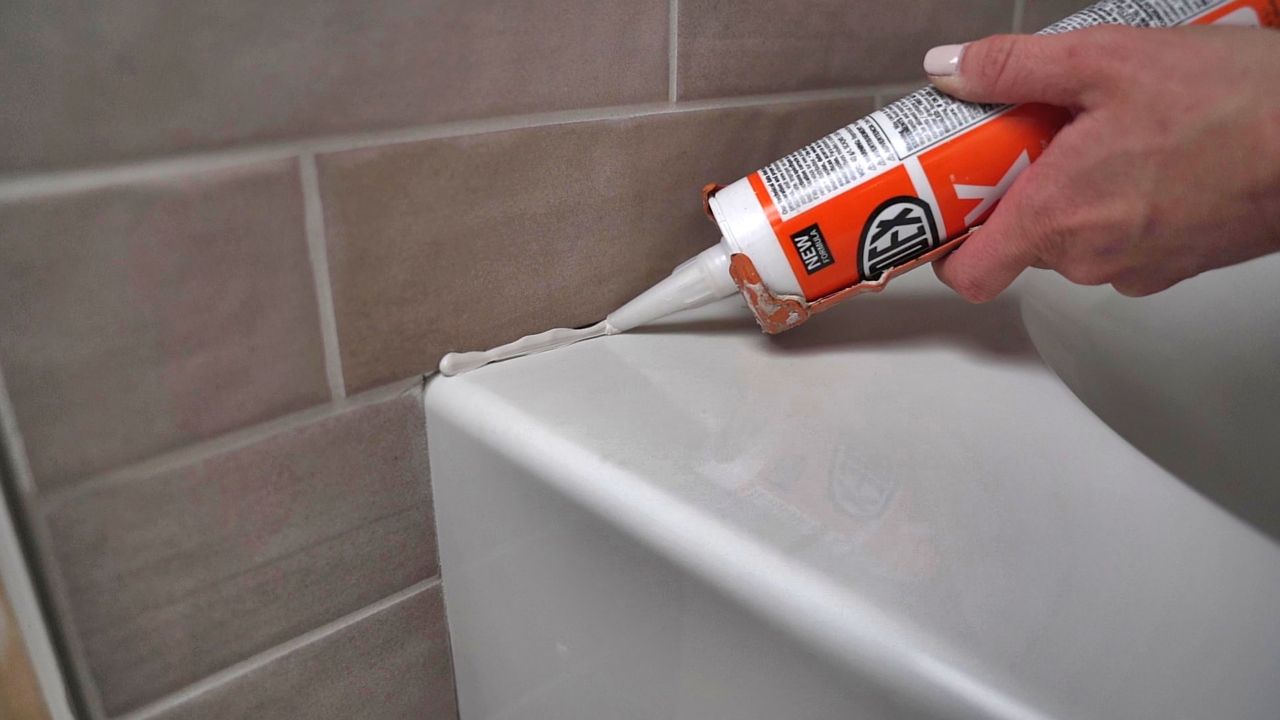
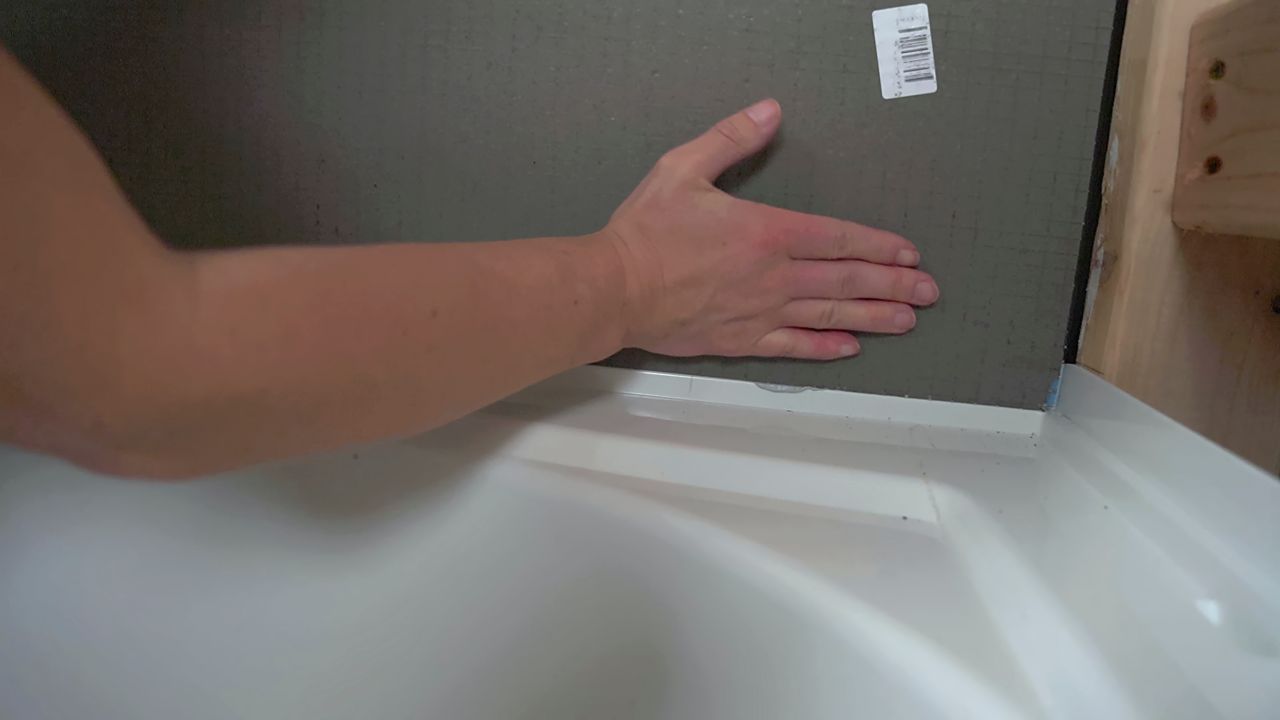
Before hanging the bottom row of boards over the tub flange, add waterproof sealant all along the flange to ensure the seam is watertight.

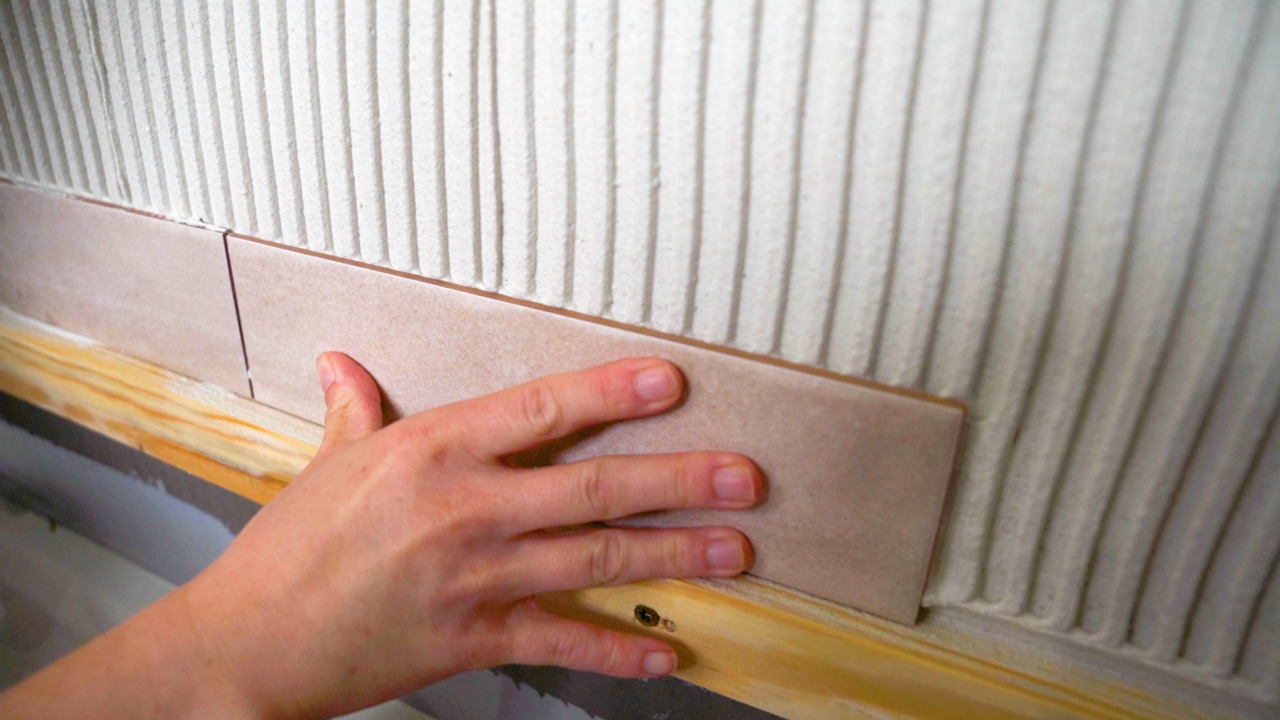
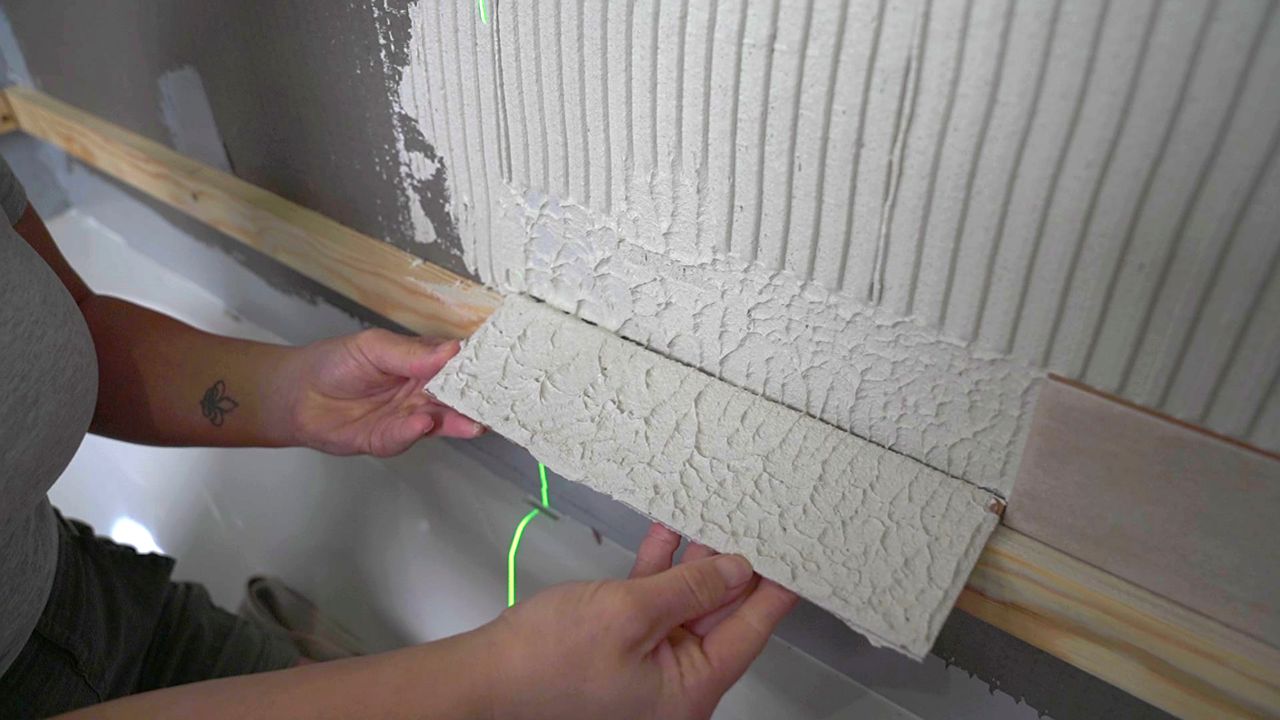
Place your board on the first wall, ensuring it sits flush on the flange and embeds in the waterproof sealant by pressing down firmly along the board and flange.
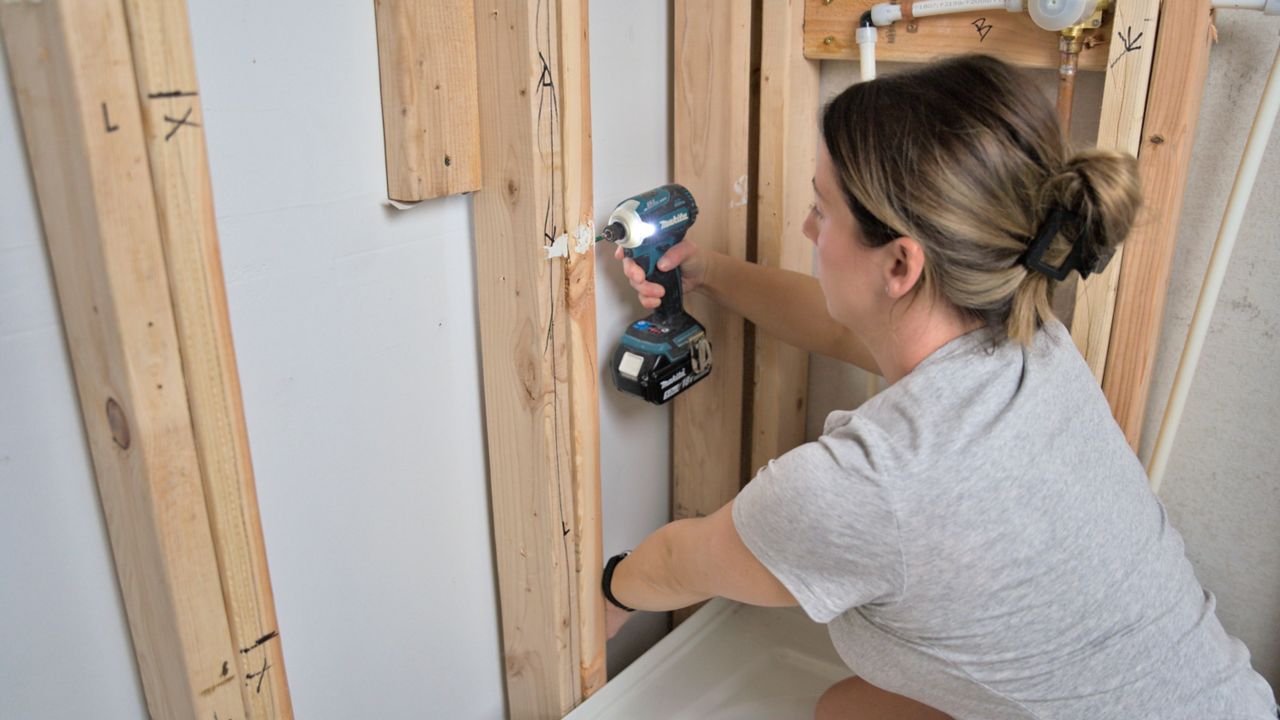
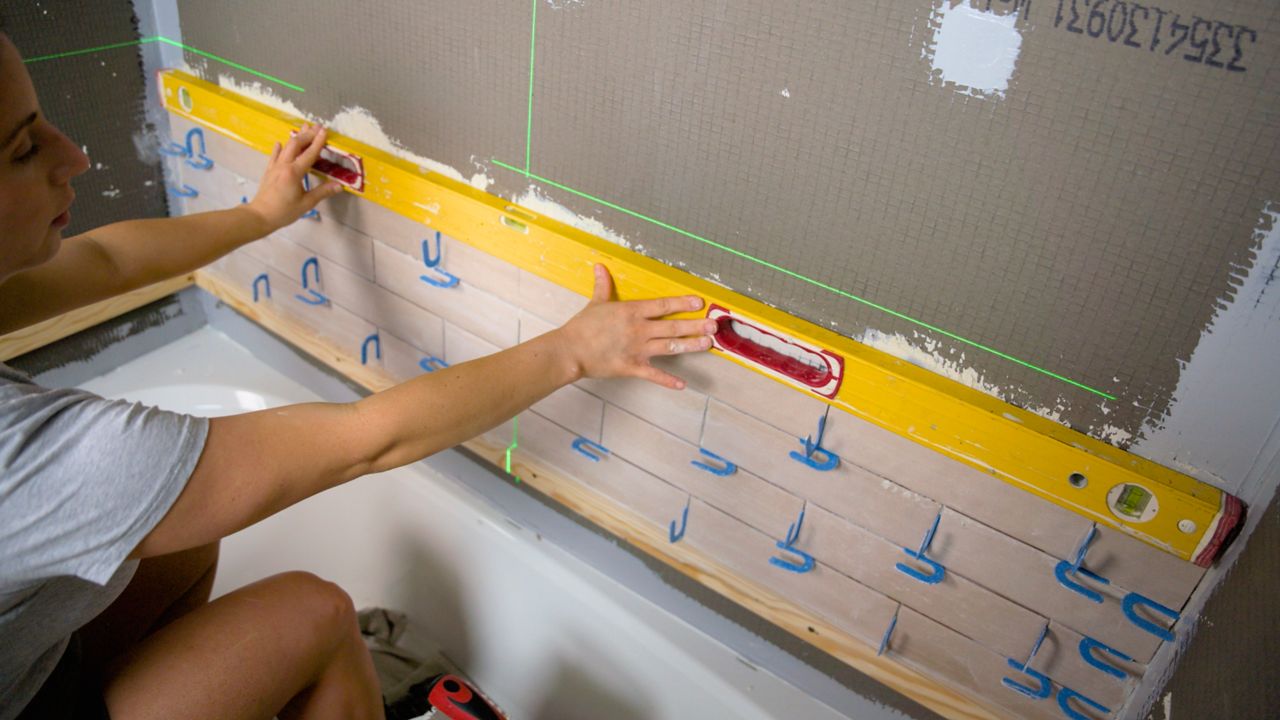
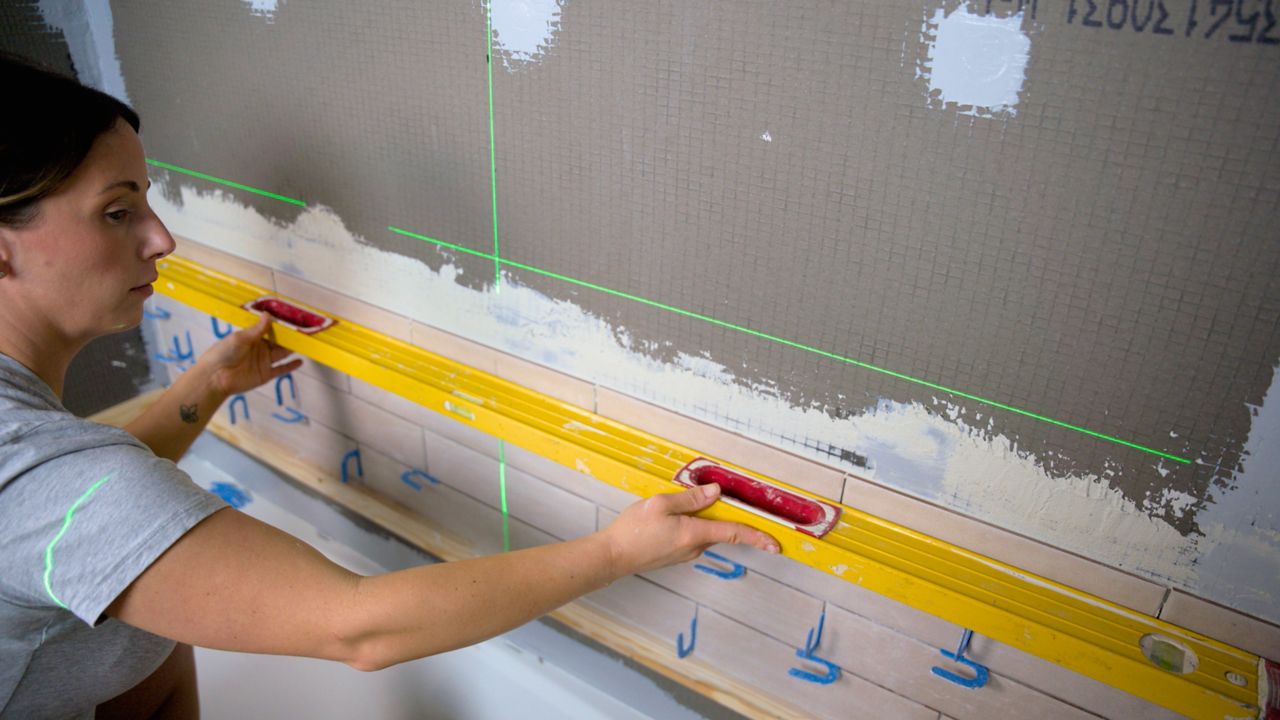
Next, secure the board to the wall. For this installation, I used the approved screws and washers placed 12” apart.
Finish Back Shower Wall
After hanging the first row of boards, and before hanging the next row, add sealant between the board seams and to interior tub corners where two boards will meet.

Hang the next board, continuing to place screws 12 inches apart. Use your putty knife to spread out any excess sealant along the joints so that it lays flat.
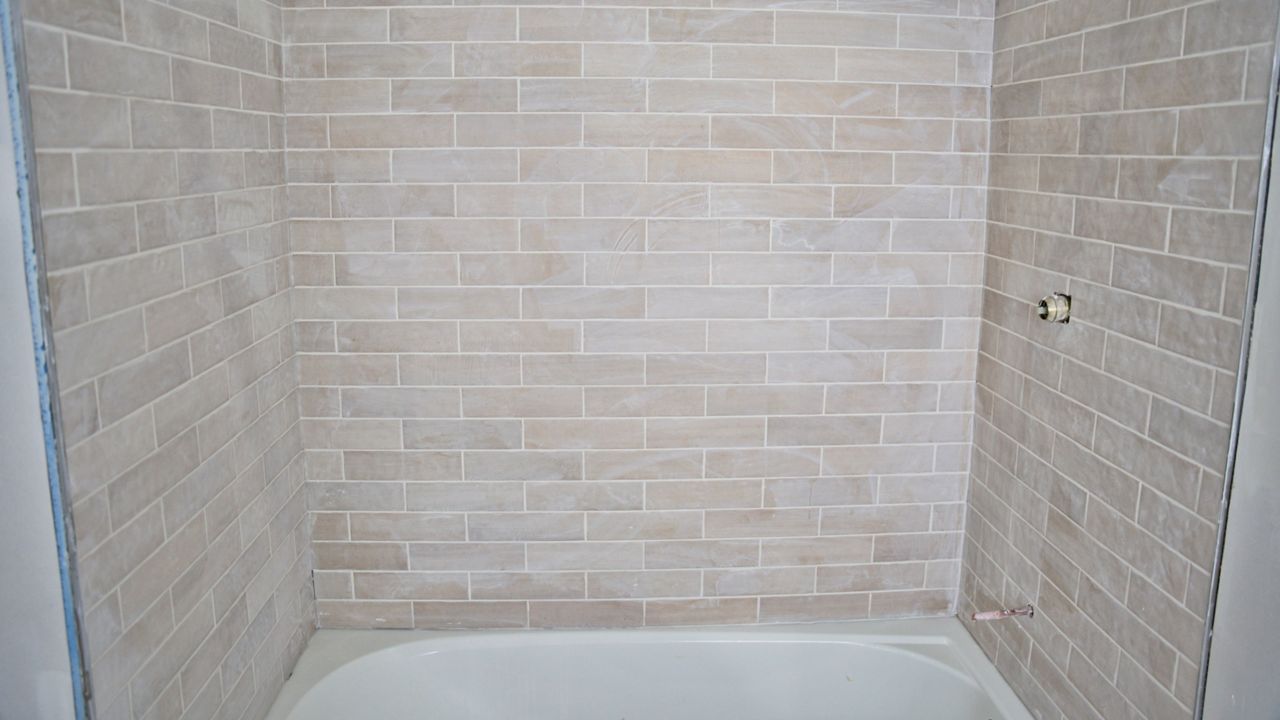
Install Side Walls
Once you complete the back wall, you can move on to the side walls, repeating the same steps to install the boards. Once you start your side walls, it’s very important that you apply sealant on the inside corner before placing your next board. This ensures a watertight connection between the two walls.
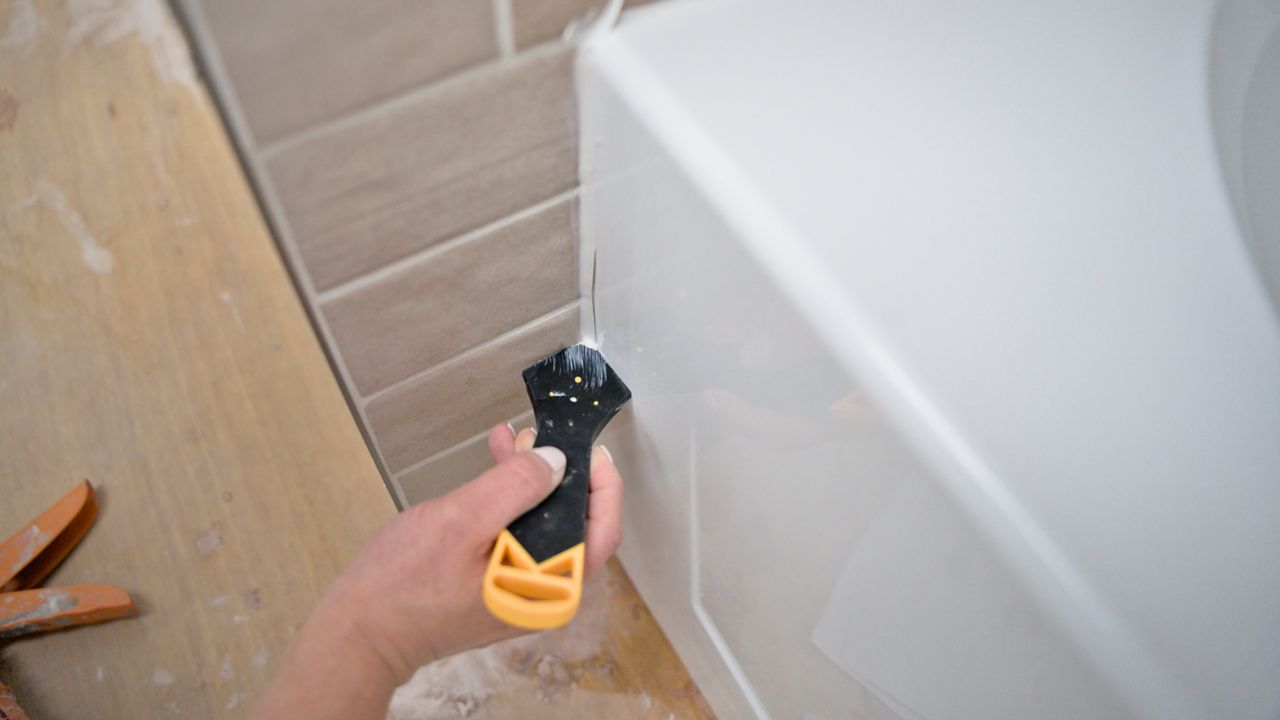
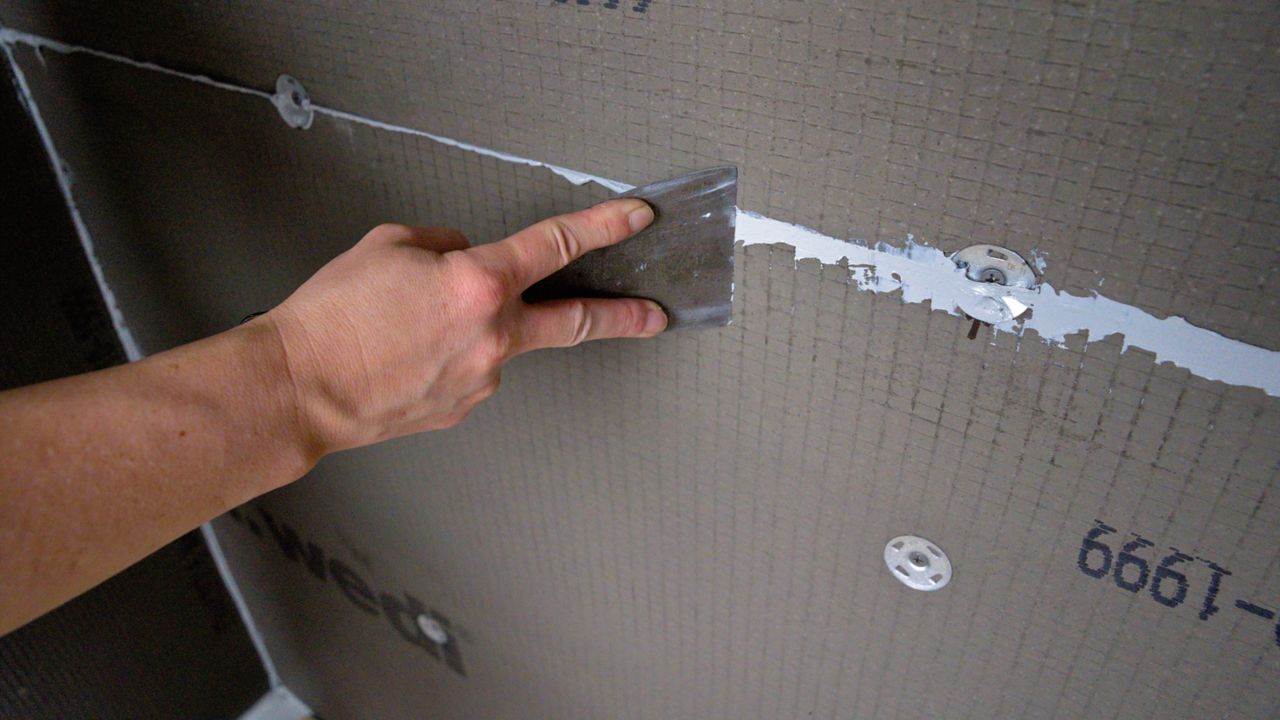
Finish Waterproofing
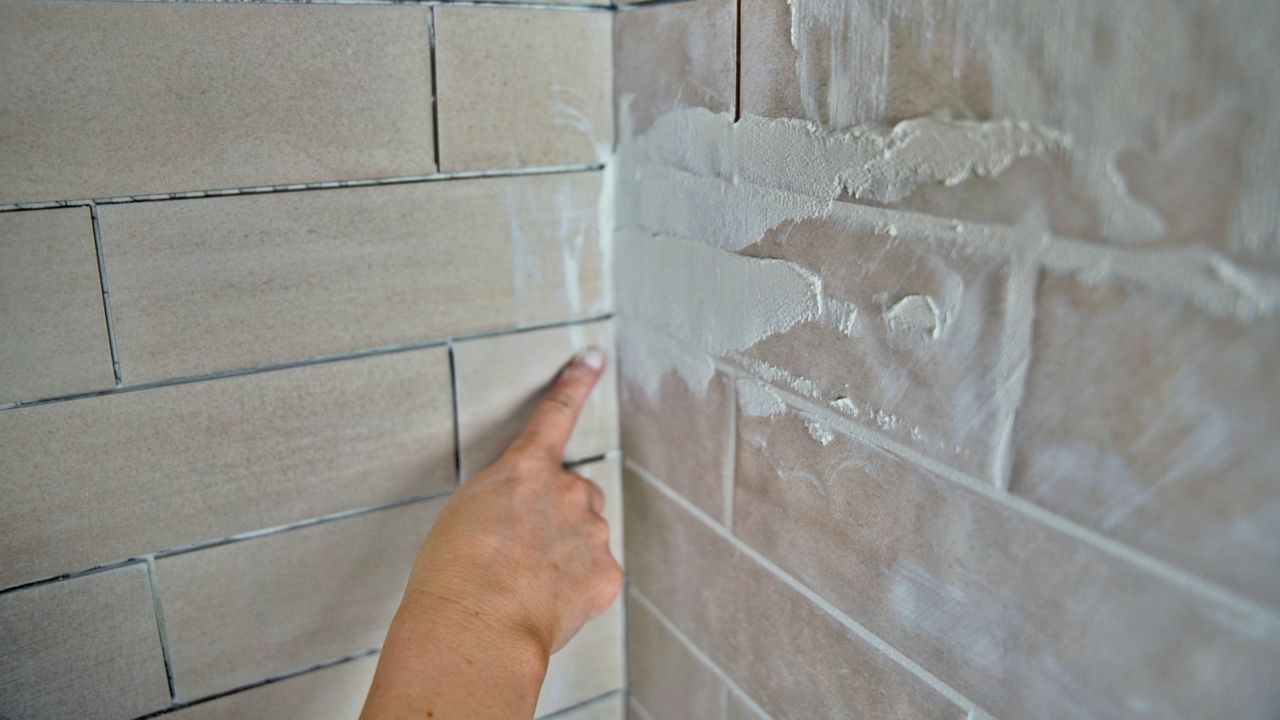
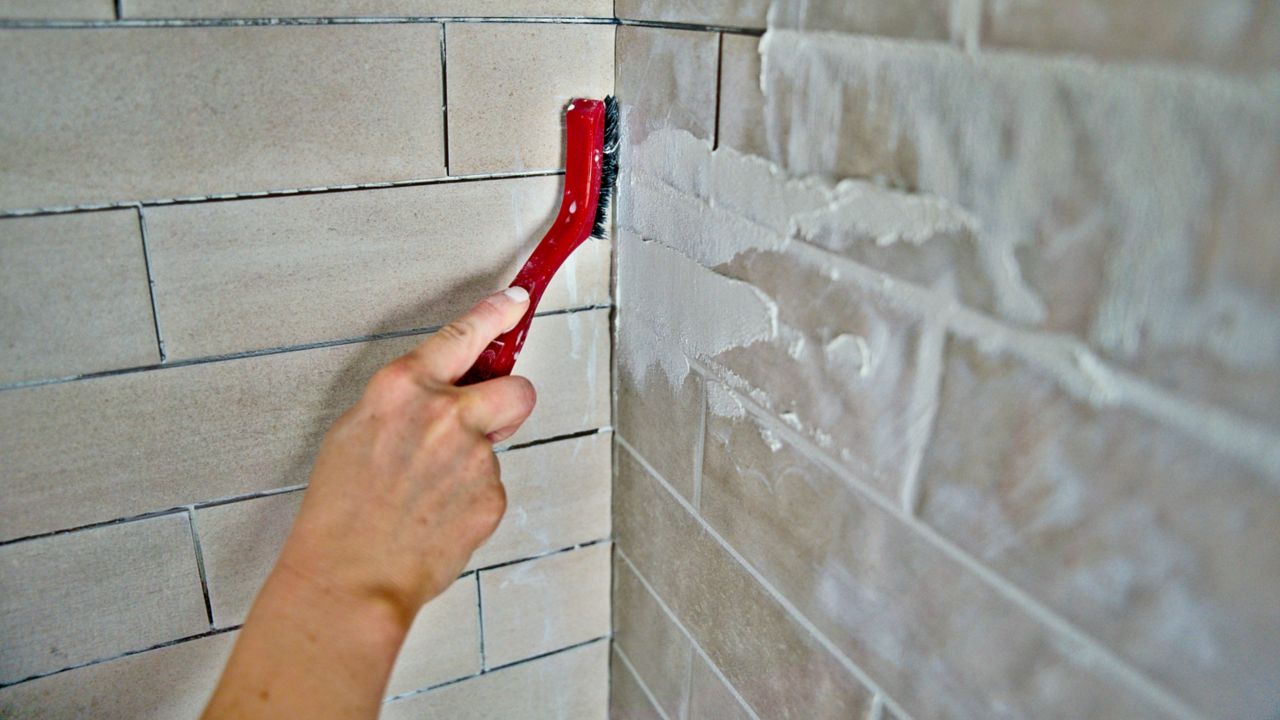
To waterproof screw holes, use the waterproof sealant and a putty knife. Begin by applying a dime-sized amount of sealant to each screw hole and spreading evenly over a minimum of 2 x 2 inches square.
Finally, along the seams, inside corners, and where the walls meet the tub, add more sealant and spread evenly using your putty knife.

Before moving on to the next step, take a moment to check that all screw holes, seams and inside corners are covered evenly with sealant.