Loading component...
Step-by-Step: How to Use a Manual Tile Cutter
Prepare the Tile
Use a pencil and straightedge to mark the cutting line on the glazed surface of the tile. Double-check your measurements for accuracy.
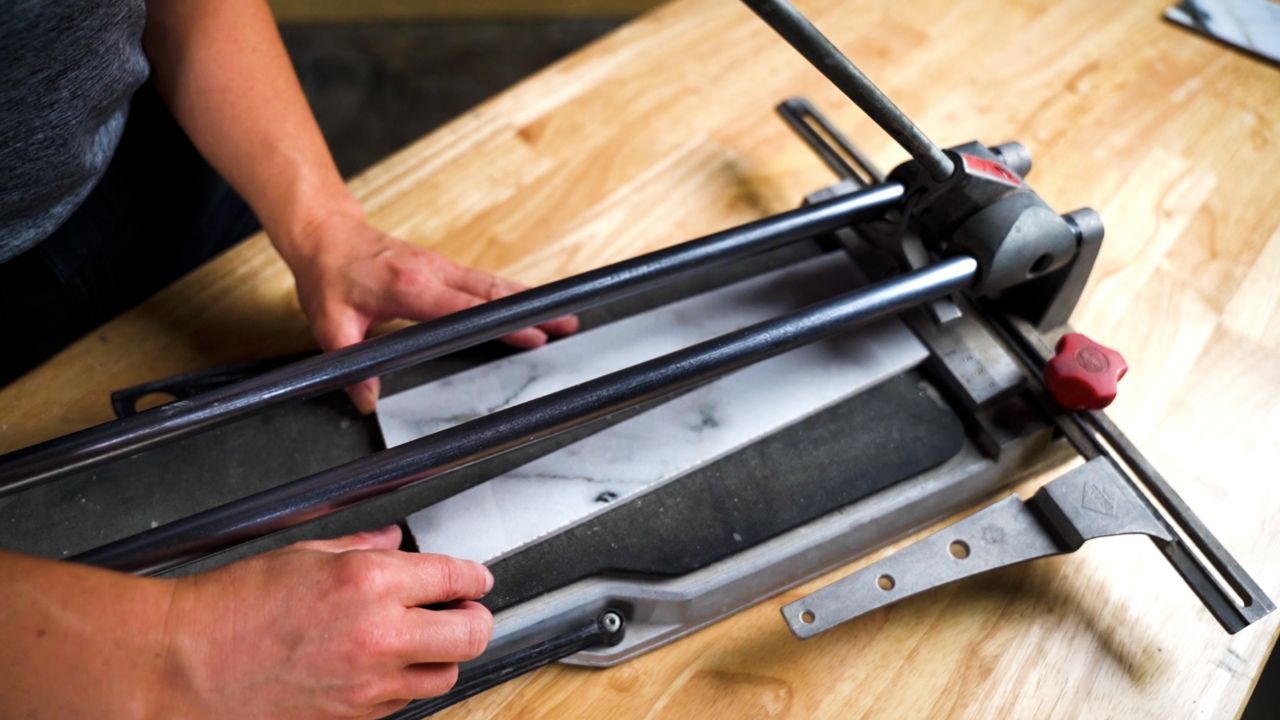
Once marked, place the tile on the base of the cutter, aligning the marked line with the scoring wheel. Ensure the tile is flat against the base and positioned straight.
Score the Tile
Lower the handle to bring the scoring wheel into contact with the tile. Position the tungsten carbide scoring wheel directly over the start of your cutting line. Hold the handle firmly and slide the scoring wheel along the cutting line using even, moderate pressure. You should hear a scratching sound as the wheel scores the tile.
Only make one pass with the scoring wheel. Do not go back and forth, as this can weaken the tile and lead to uneven cuts.