How to Install a Kitchen Tile Backsplash
Installing your own tile backsplash is an approachable and satisfying DIY renovation project. With a little bit of patience and determination, you can totally transform your kitchen.
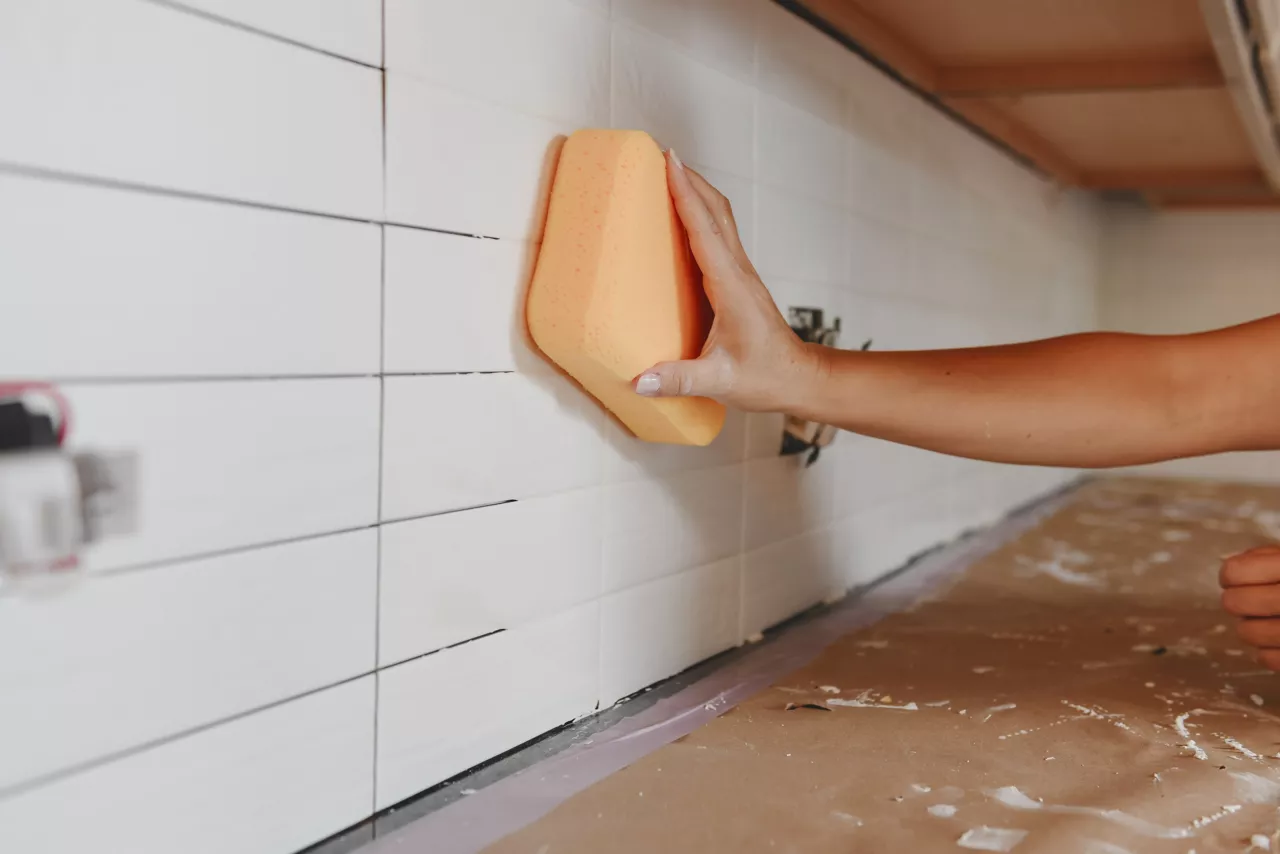
In this article, we will show you how to install kitchen backsplash tile, step by step.
Tools You'll Need
- Pry bar or hammer
- Screw driver
- Finishing nails
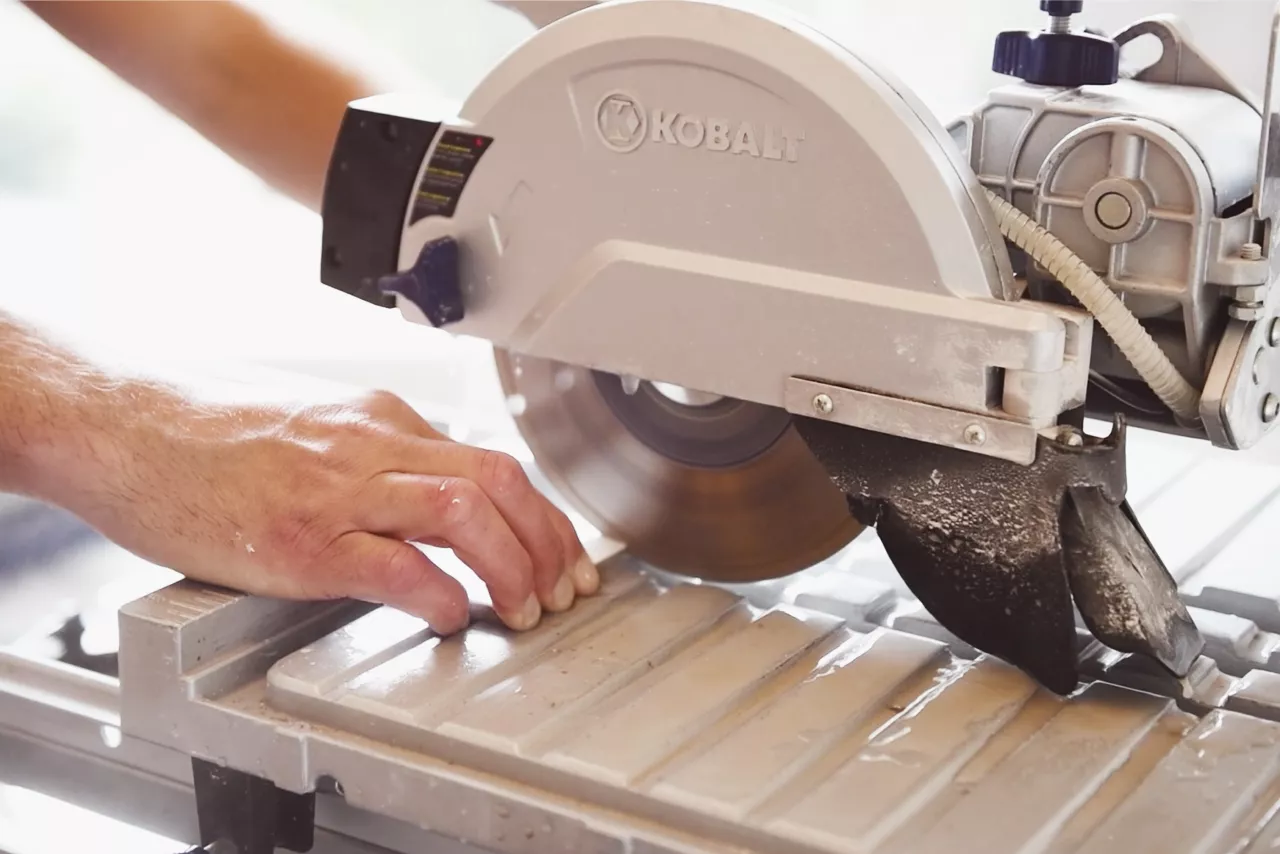
- Tile cutter
- Notched trowel
- Margin trowel
- Mixing bar
- Buckets (3)
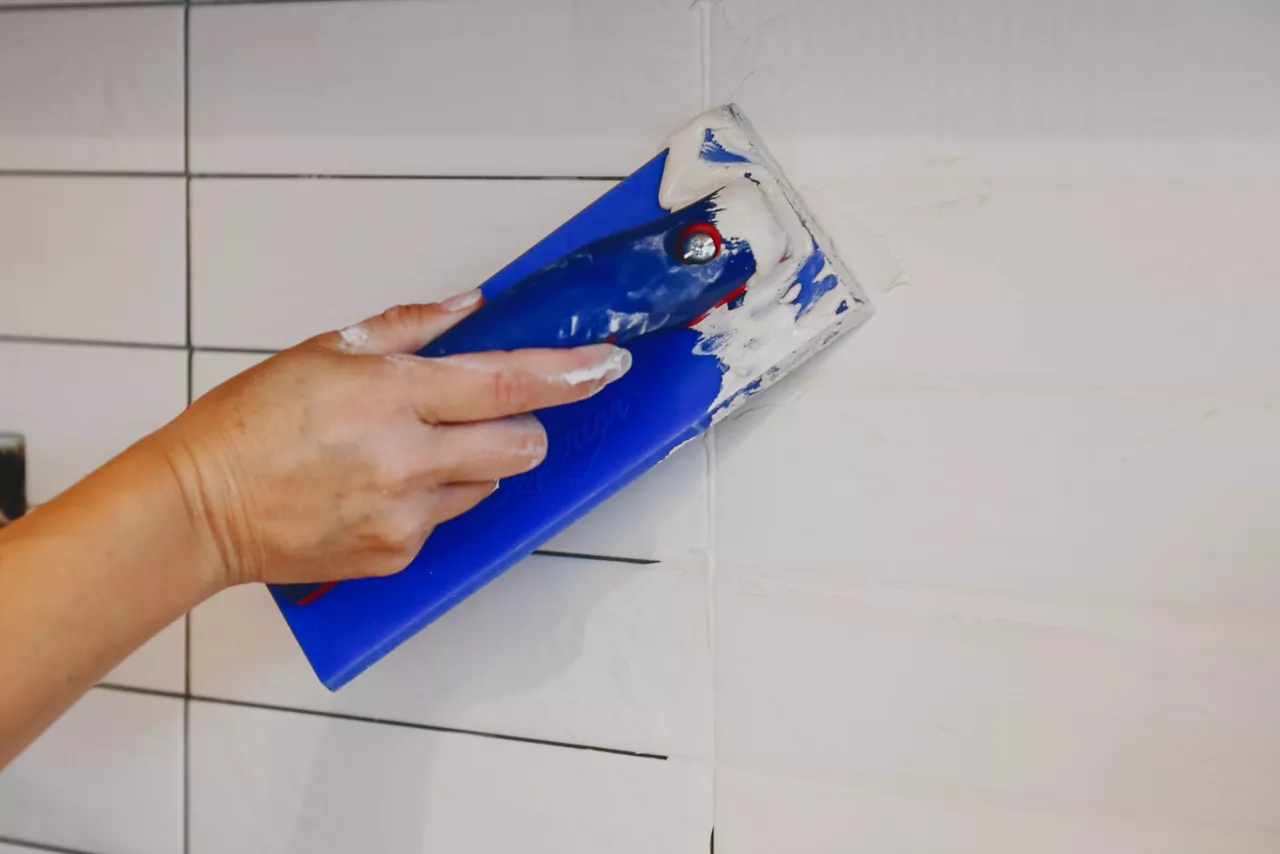
- Grout float
- Caulk gun
- Sponge
- Dry cloth
- Safety goggles