How to Tile a Wall: Step by Step
Tiling a wall can transform a plain surface into a stunning focal point, adding both aesthetic appeal and functional durability to your space. Whether you're refreshing a kitchen backsplash, updating a bathroom, or giving a fresh look to any room, mastering the art of wall tiling can be a rewarding and cost-effective DIY project.
In This Article
In this step-by-step guide, we’ll walk you through everything you need to know to achieve professional-quality results, even if you're a beginner. From selecting the right materials and tools to prepping your wall and applying the finishing touches, we’ll cover each stage in detail, ensuring you have the confidence and knowledge to tackle your tiling project with ease.
So, roll up your sleeves, grab your trowel, and let’s get started on creating a beautifully tiled wall that you can be proud of for years to come.
Tools You'll Need
- Gloves
- Sponges
- Buckets
- Mixing drill
- Notched trowel
- Tile cutter
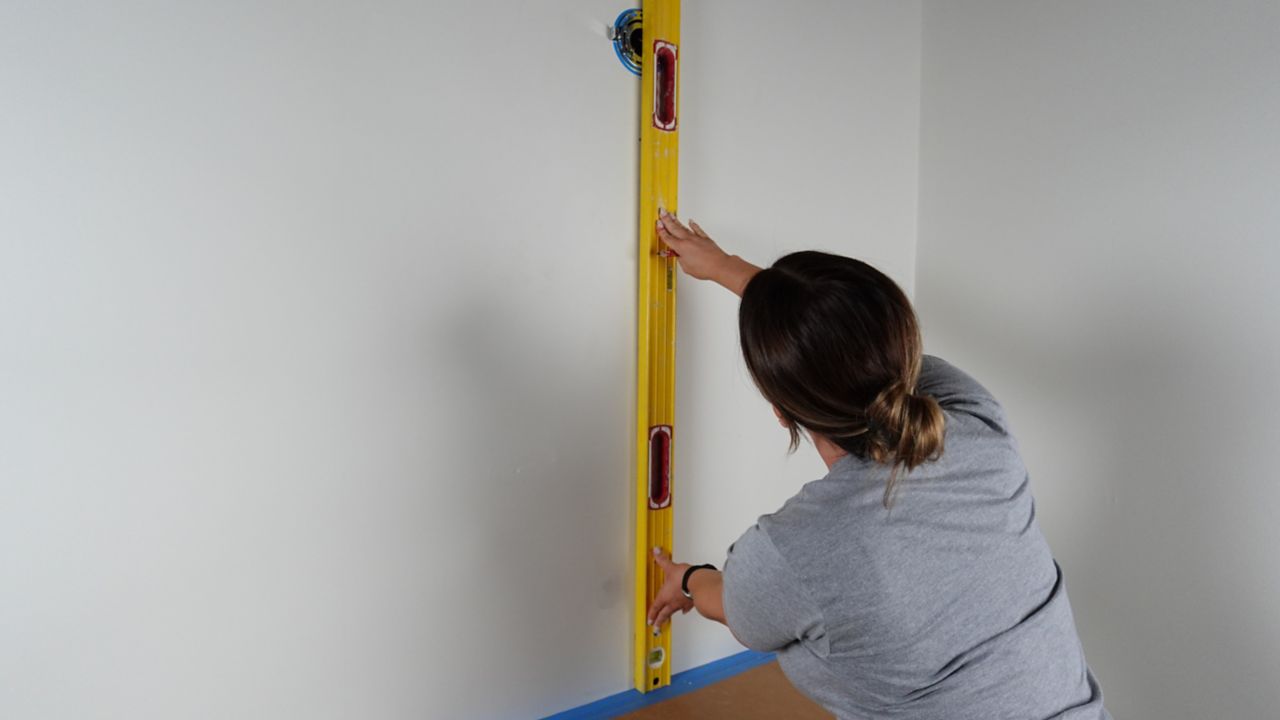
- Level
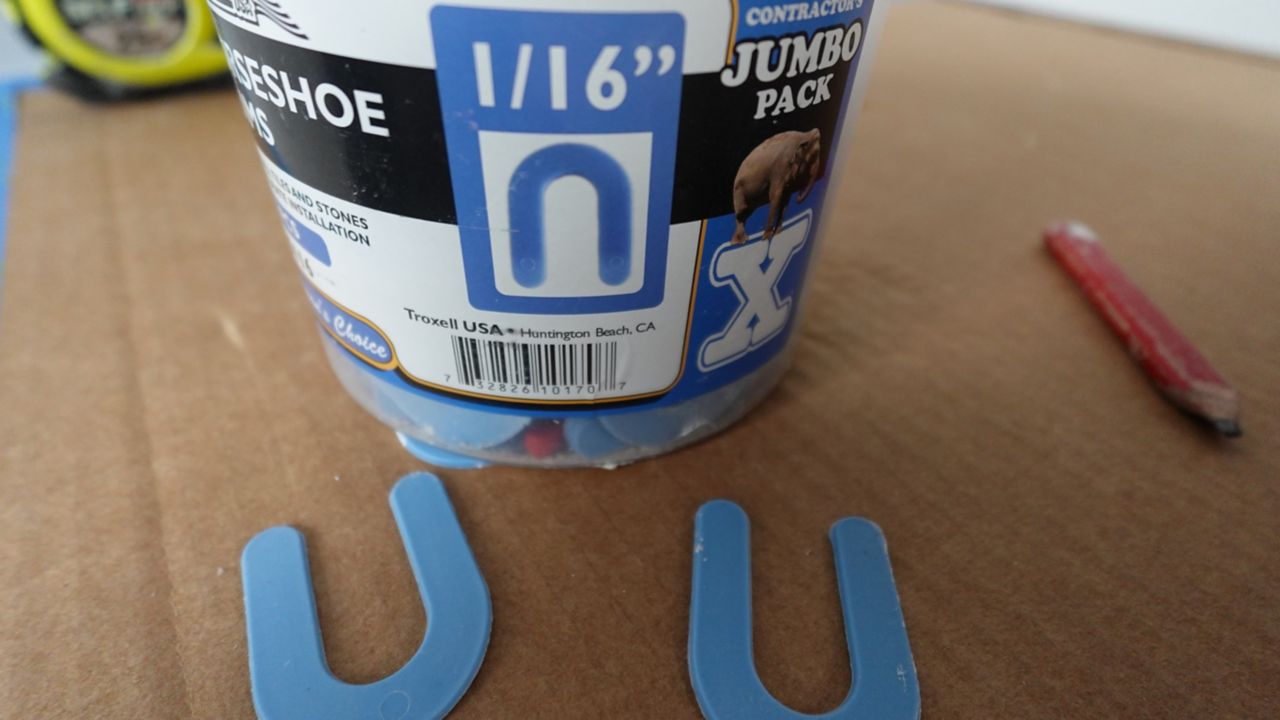
- Tile spacers and wedge spacers
- Measuring tape
- Marking tool
- Drill
- Box knife
- Clean microfiber rags
- Hole saw
- Grout float
- Margin trowel
- Grout brush or toothbrush
- Utility pick
Loading component...
Prepare Your Walls
A tile installation is only as strong as what it’s bonded to. Making sure your drywall is in good condition and the paint is not peeling will ensure a lasting installation.
If tiling a wall that is not in a “wet area” (such as a shower), it’s perfectly acceptable to tile over painted drywall so long as the walls are in good condition. If you have any loose or flaking paint, you will need to address those first before getting started by scraping off any loose paint with a paint scraper. Finally, wipe down walls with a lightly damp sponge to pick up any dirt, dust or debris, as these can act as bond breakers which essentially causes thinset not to adhere to the surface properly.
If you are tiling over fresh drywall, be sure to tape and float the seams and apply a tile bonding primer before getting started.
Loading component...

Loading component...
Loading component...
Loading component...
Loading component...
Loading component...
Loading component...
Loading component...
Loading component...
Loading component...