6 6 6
The Tile Shop Logo

How To Install Vinyl Plank Flooring


Living room with light brown luxury vinyl flooring and brown leather sofa.

One of the easiest and most satisfying DIY projects is installing your own vinyl plank flooring. This project can be done in as little as an afternoon and is easy enough that even first-time home renovators can tackle it with relative ease.

In this article, we’ll take a look at how to install vinyl plank flooring in your house, step by step.


Advantages of Vinyl Plank Flooring

Vinyl plank flooring has become one of the most popular flooring choices, and with good reason. Vinyl planks are generally a more budget-friendly option compared to natural materials while still offering the look of hardwood or stone. Add to that an unparalleled durability, and vinyl planks save you money up front and in the long run, because they virtually never need to be refinished or replaced.

Beyond cost considerations, vinyl plank flooring offers multiple day-to-day benefits as well. Depending on the specific variety you choose, vinyl plank tile is either highly water-resistant or fully waterproof, making it an ideal flooring option for areas where moisture and humidity are common, such as kitchens, bathrooms, and laundry rooms. And it is remarkably easy to clean and maintain: regular sweeping and occasional mopping are usually all that's needed to keep it looking great.

But perhaps the best part of vinyl plank flooring is how easy it is to install. In fact, vinyl plank flooring is often designed specifically for DIY installation. Whether you're a seasoned DIY enthusiast or a first-time renovator, this ease of installation allows you to achieve professional-looking results while saving on installation expenses.


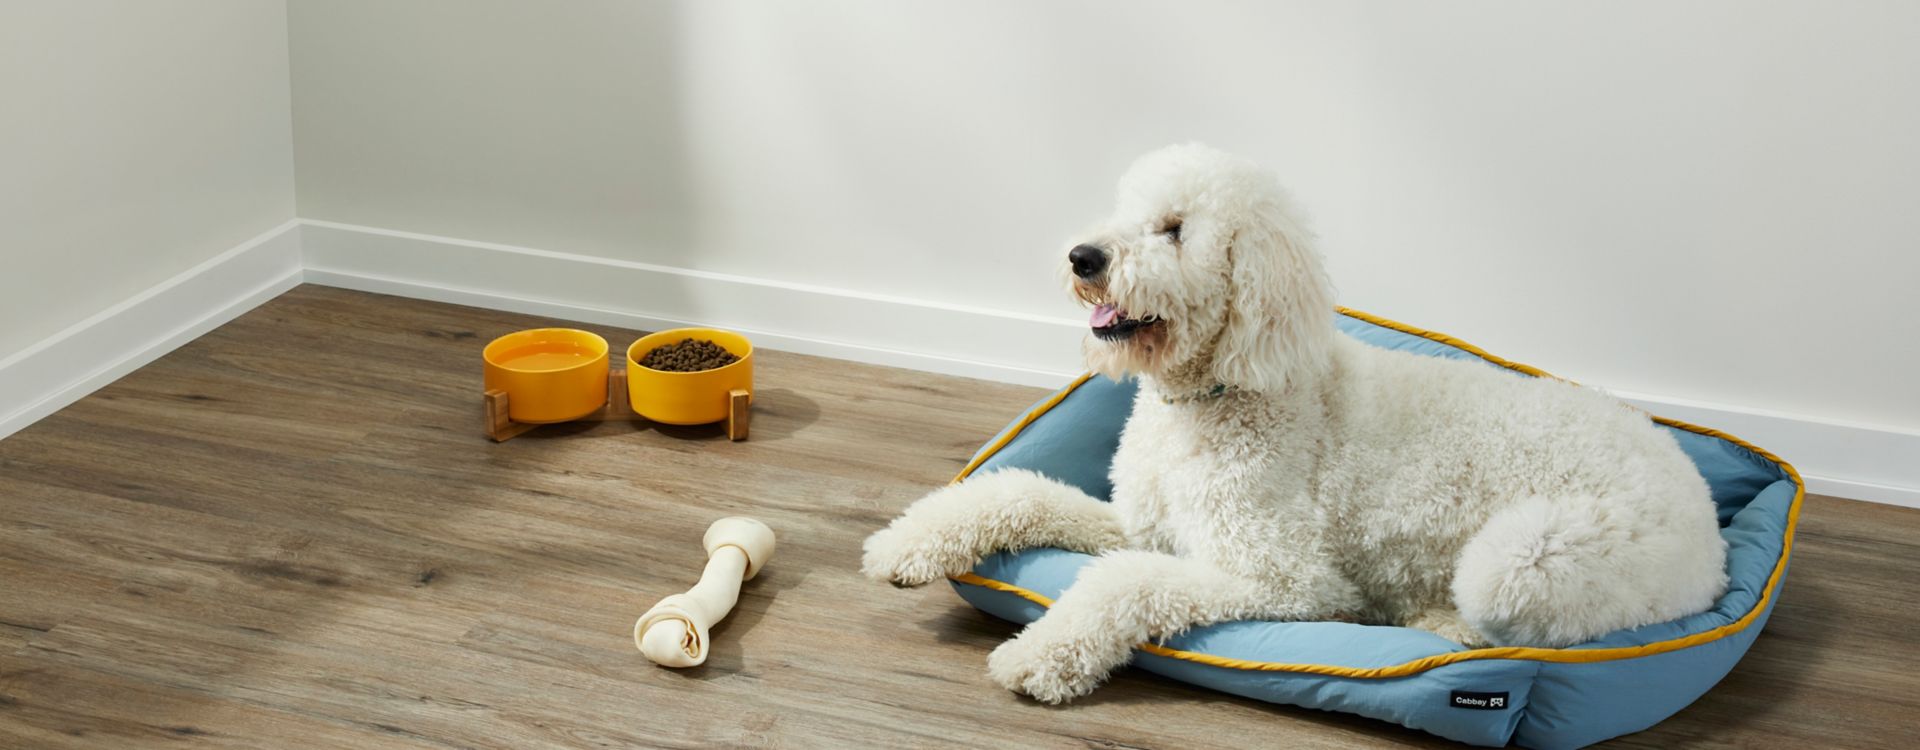
A large white dog rests on a blue dog bed, next to a bone and food and water bowls. The floor under the dog bed is covered in luxury vinyl wood-look planks.

Tools for Installing Vinyl Plank Flooring

  • Measuring Tape
  • Vacuum or broom
  • Utility knife or vinyl cutter
  • Chalk or pencil
  • T-square or straight edge
  • Level
  • Staples or tape
  • Adhesive (if necessary)
  • Hammer and tapping block
  • Pry bar (if removing existing flooring)
  • Caulk gun and silicone adhesive
  • Rubber mallet
  • Spacers
  • Small hand roller
  • Large floor roller
  • Safety gear (gloves, knee pads, and safety glasses)
  • Finishing nails

Step By Step: How to Install Vinyl Plank Flooring

01
of 09

Allow Vinyl Planks to Acclimate

Like any other material, vinyl can expand when exposed to heat and contract when it cools. Acclimation helps to stabilize the planks and bring them to the same temperature and humidity levels as the installation area. This minimizes the potential for problems like gaps or warping as the seasons change.

To acclimate them, all you need to do for this is to leave the box of planks open in the room where they will be installed for 48 hours.

02
of 09

Remove Baseboards

Carefully remove the existing baseboards along the walls where you'll be installing the vinyl plank flooring. This step allows for a cleaner and more professional-looking installation.

First, score any paint or caulk that may be adhered to both the baseboard and the wall to ensure a clean removal. Then, use a pry bar to carefully separate the baseboards from the wall. Be sure not to damage the baseboards during this process. Once the baseboards are removed, label each one for easier reinstallation and set them aside so they are not obstructing your work area.

03
of 09

Prepare Subfloor

If you are installing adhesive vinyl planks, remove the existing flooring and identify the type of subfloor you are working with. For floating planks, you can leave tile, hardwood, and even one layer of vinyl flooring in place and install the planks directly on top of them.

Using a level, make sure the entire subfloor is flat to a minimum standard of 1/8 inch over 10 feet. (A good motto: “Level is desired, flat is required!”) For minor discrepancies, you can use a floor patching compound to level the subfloor. For larger uneven areas, consider using a self-leveling product.

Thoroughly clean the subfloor by sweeping or vacuuming up any dust, dirt, or loose particles. A clean subfloor will ensure a better bond for the adhesive.

04
of 09

Lay Underlayment

Some vinyl planks come with an attached underlayment, while others require a separate underlayment material. If you need to add underlayment, the first step is to ensure that the subfloor is free from any debris, dust, or imperfections.

In some cases, especially for installations on concrete subfloors, a moisture barrier may be required to prevent moisture from seeping up into the flooring. This is a layer placed in addition to the underlayment specifically designed to protect the flooring from moisture-related damage. Follow the manufacturer's guidelines for installing a vapor barrier if it's recommended.

Roll out or lay down the underlayment sheets or rolls across the entire subfloor. Ensure that the edges of adjacent sheets overlap according to the manufacturer's instructions. This helps create a continuous and uniform underlayment surface. Use a utility knife or scissors to trim excess underlayment material along the walls or at obstacles.

Secure the underlayment in place, following any recommended methods provided by the manufacturer. This may involve using adhesive, staples, or tape, depending on the underlayment type.

05
of 09

Plan the Layout

Use your measuring tape to determine the width of the room, including any alcoves or protrusions. This measurement will help you calculate the width of the first and last rows of planks, ensuring a balanced and symmetrical appearance.

Next, divide the room width by the width of a single vinyl plank. This calculation will help you determine how many planks will fit across the width of the room. If the last row is less than half a plank's width, cut the first row of planks to a narrower width.

When your measurements are complete, use a chalk line or a straightedge and a pencil to mark a reference line along the length of the starting wall. This line will serve as a guide for laying the first row of planks. Take your time to make sure this line is perfectly straight across the entire wall to avoid plank alignment problems later on. 

06
of 09

Cut the Vinyl Planks

Using a measuring tape and a pencil, mark the measured width on the first vinyl plank. Ensure that the mark is straight and accurate. Place the plank on a flat, stable surface, such as a worktable or sawhorse.

You can cut vinyl planks using a few different tools, including a utility knife, a vinyl plank cutter, or a jigsaw with a fine-toothed blade. If using a utility knife, make a straight cut along the marked line by scoring the plank's surface. Then, carefully snap the plank along the scored line. If using a vinyl plank cutter or jigsaw, follow the manufacturer's instructions.

After cutting the first plank to size, place it along the reference line on the starting wall to ensure it fits correctly. For floating planks, it is vital that you leave a gap between the planks and the wall to accommodate any expansion that may occur. This gap is usually between 1/4 inch and 1/2 inch and will be indicated in the manufacturer's instructions.

07
of 09

Install First Row

The process for installing the vinyl planks themselves varies depending on which type of vinyl plank you are using.


Click-Lock and Self-Adhesive Vinyl Planks

Start by positioning the first plank at one corner of the room along the reference line you establish.

If you're using click-lock planks, place the first plank securely in the corner. Then, insert the tongue of the next plank into the groove of the first plank at a slight angle and press it down to click it into place. Once all planks are laid down, place spacers between the planks and the wall to ensure a properly sized expansion gap.

If you're using self-adhesive planks, simply peel off the backing and firmly press the plank onto the subfloor.

Ensure that the first plank is perfectly aligned with the reference line and any spacers placed along the wall to maintain the expansion gap. Use a level to confirm that the plank is flat and even.

Continue this process until you reach the other side of the room. For click-lock planks, use a tapping block and rubber mallet to ensure secure connections. For self-adhesive planks, use your small hand roller to ensure each plank is perfectly smooth and laying flat against the subfloor.


Glue-Down Vinyl Planks

Start by preparing the adhesive. Use a trowel to apply the adhesive evenly to the subfloor. Wait for the glue to become tacky but not totally dry.

Place the first plank at one corner of the room, aligning it with the reference line you established. Press the plank firmly into the adhesive, ensuring that it is perfectly aligned with the reference line.

Lay the remaining planks of the first row one by one, connecting the tongue and groove or the locking mechanism of each plank securely. Use a tapping block and a rubber mallet to ensure a tight fit between planks.

08
of 09

Continue and Finish Installation

Once your first row is complete, go back to the side of the room where you started to begin the next row using the same installation process as the first row.

Because vinyl planks can vary in grain pattern and color, it is a good practice to choose planks at random rather than simply taking the next one from the same box.

To achieve a natural and aesthetically pleasing appearance, it's also a good idea to stagger the seams of the planks between rows. This means that the end joints of the planks in one row should be offset by 6 to 12 inches.

As you go, periodically check for any gaps between planks and ensure they are securely connected and use a level to confirm that the planks are level.

09
of 09

Finishing Touches

Once all the planks are in place, there are a few final tasks before your vinyl plank flooring installation is complete.

  • First, install transition strips where the vinyl plank flooring meets other types of flooring or doorways. Use silicone adhesive to secure them in place.
  • Next, carefully reinstall the baseboards using finishing nails. Ensure they cover any gaps left between the planks and the wall.
  • Finally, go over the entire floor with a 100-lb. floor roller, first along one direction, then in the perpendicular direction. Using the roller is advised no matter what type of vinyl planks you have installed. This will help remove any air bubbles in the adhesive and will ensure all the planks are settled and smooth.

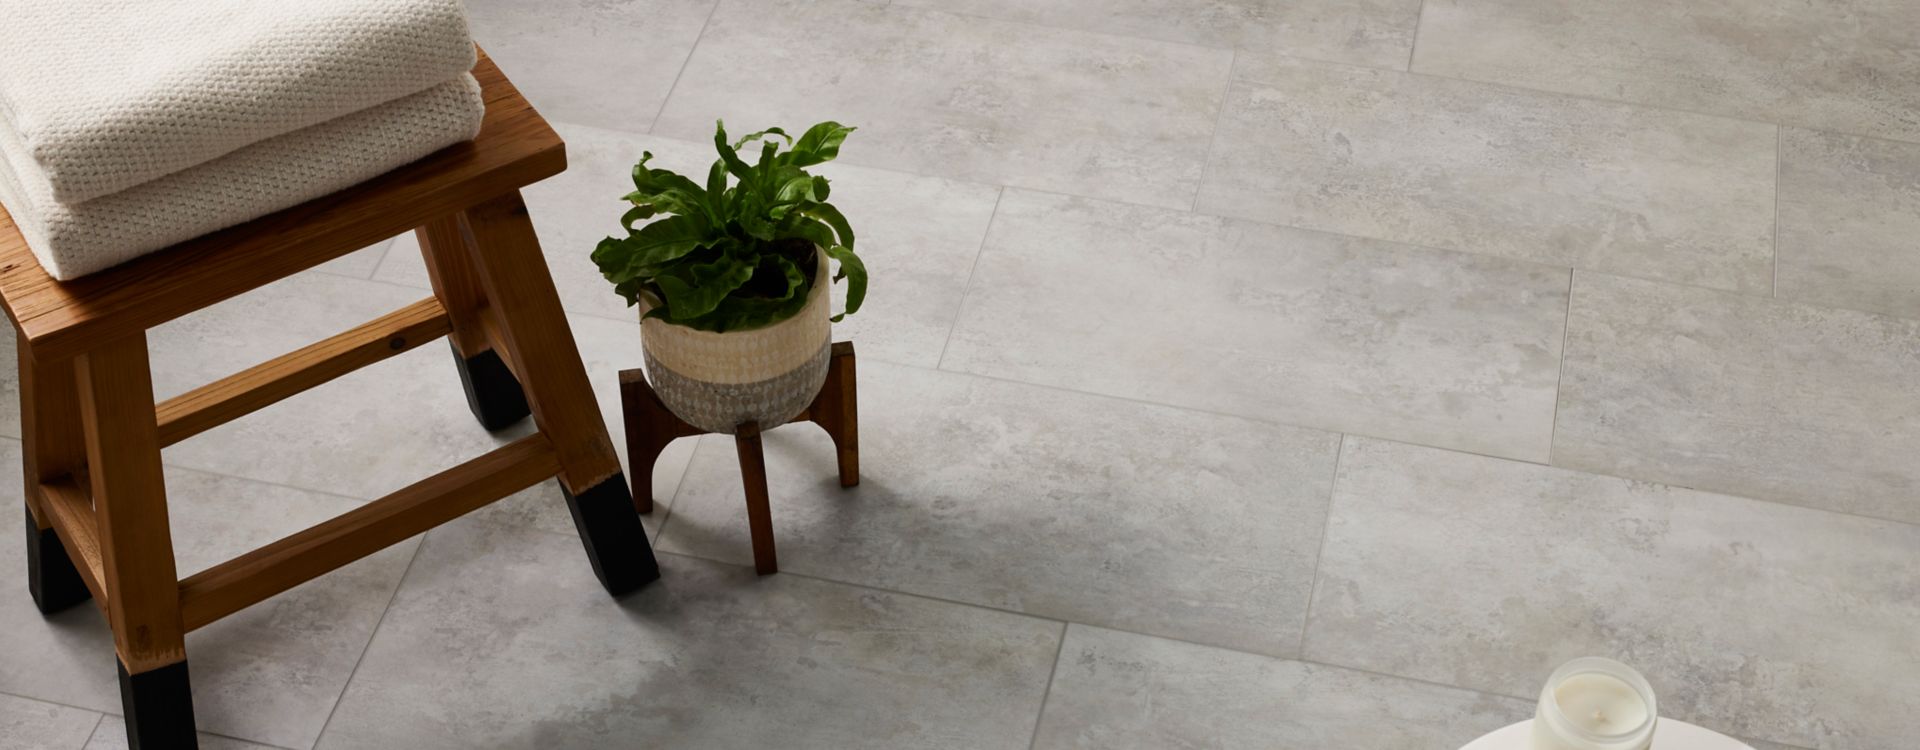
A modern, minimalist bathroom features neutral grey-toned luxury vinyl flooring that looks like realistic natural stone.

Common Mistakes When Installing Vinyl Plank Flooring

While installing vinyl plank flooring is generally a straightforward project suitable for novice home renovators, mistakes are still a risk. Before you start, consider these common mistakes and make a plan to avoid them.

  • Skipping the manufacturer's instructions. Different manufacturers have different instructions for how to install their flooring. Not paying careful attention to these instructions may result in inadequate expansion gaps or other problems. Any damage that results from not following these instructions could void the manufacturer's warranty.
  • Inadequate subfloor preparation. Failing to properly prepare the subfloor by ensuring it's clean, flat, and free from debris or imperfections can lead to issues like uneven flooring, squeaks, or problems with adhesion.
  • Failing to remove the baseboards. before installing vinyl plank flooring can result in an uneven and unprofessional finish. Removing baseboards before you start allows for a cleaner installation and ensures the flooring extends beneath them, creating a clean look.
  • Rushing the installation. Hasty installation can lead to errors. Take your time to ensure each plank is properly aligned, secure, and free from adhesive residue or debris.
  • Improper alignment and locking. For click-lock vinyl planks, not ensuring a proper alignment and secure locking between planks can lead to loose or uneven flooring that may separate over time. Make sure each plank is fully interlocked with the previous plank before moving on.
  • Improper use of adhesive. For glue-down vinyl planks, not spreading the adhesive evenly or applying too much adhesive can result in uneven or damaged planks. Follow the adhesive manufacturer's instructions carefully.
  • Incorrectly cutting planks. Use a vinyl cutter or a sharp utility knife and a straightedge for accurate cuts. Practice on scrap pieces before tackling the actual planks.
  • Forgetting vents and fixtures. Plan how planks will meet around vents, radiators, or architectural features. Measure and pre-cut planks for precise and neat integration.
  • Not checking the weight rating. Manufacturers will specify a weight rating for their vinyl flooring. If you are installing vinyl planks in a room with heavy appliances or furniture, make sure the flooring is rated to handle the weight or else you risk damaging the planks.
  • Not using floor protection. Moving furniture and appliances back into the room is an exciting part of the renovation process. But before you do, put down temporary flooring to ensure your new vinyl planks don't get scratched or scuffed.

Cyrus Plus Whitfield Gray Luxury Vinyl Floor Tile

Vinyl Plank Flooring Installation FAQs

  • Can a beginner install vinyl plank flooring?

    Yes! Installing vinyl plank flooring is a great home improvement project for beginners. By using the right tools and closely following instructions, even a novice should be able to complete installation within a few hours.

  • Do you need to put anything under vinyl plank flooring?

    If your planks come with underlayment already attached, they do not need an additional layer between the plank and the subfloor. However, other planks require underlayment to ensure the planks have an even surface, to reduce noise, and to protect the planks from damage.

  • How long before you can put furniture on vinyl plank flooring?

    Click-lock planks are ready to go as soon as flooring is installed. For self-adhesive and glue-down vinyl planks, go over the finished area with a heavy roller, then wait 48 to 72 hours for the glue to fully set before placing furniture over the flooring.